We are a few weeks into the new year and I have to honestly say I have never been one for resolutions. They usually start out great but as time goes on and the resolution is not attained we beat ourselves up emotionally which defeats the purpose. The concept is also the same when it comes to getting organized. Many people have the best intentions but once they get in over their head they feel frustrated, stressed, disappointed and embarrassed. These tips can help you not only start the process but keep your home organized throughout the year.
START WITH A SMALL SPACE Do not make the mistake of trying to organize your whole house in one day. Many people start out motivated and then they get overwhelmed and frustrated and they throw in the towel. Start with a small area and once you see the benefits it will motivate you to tackle another space.
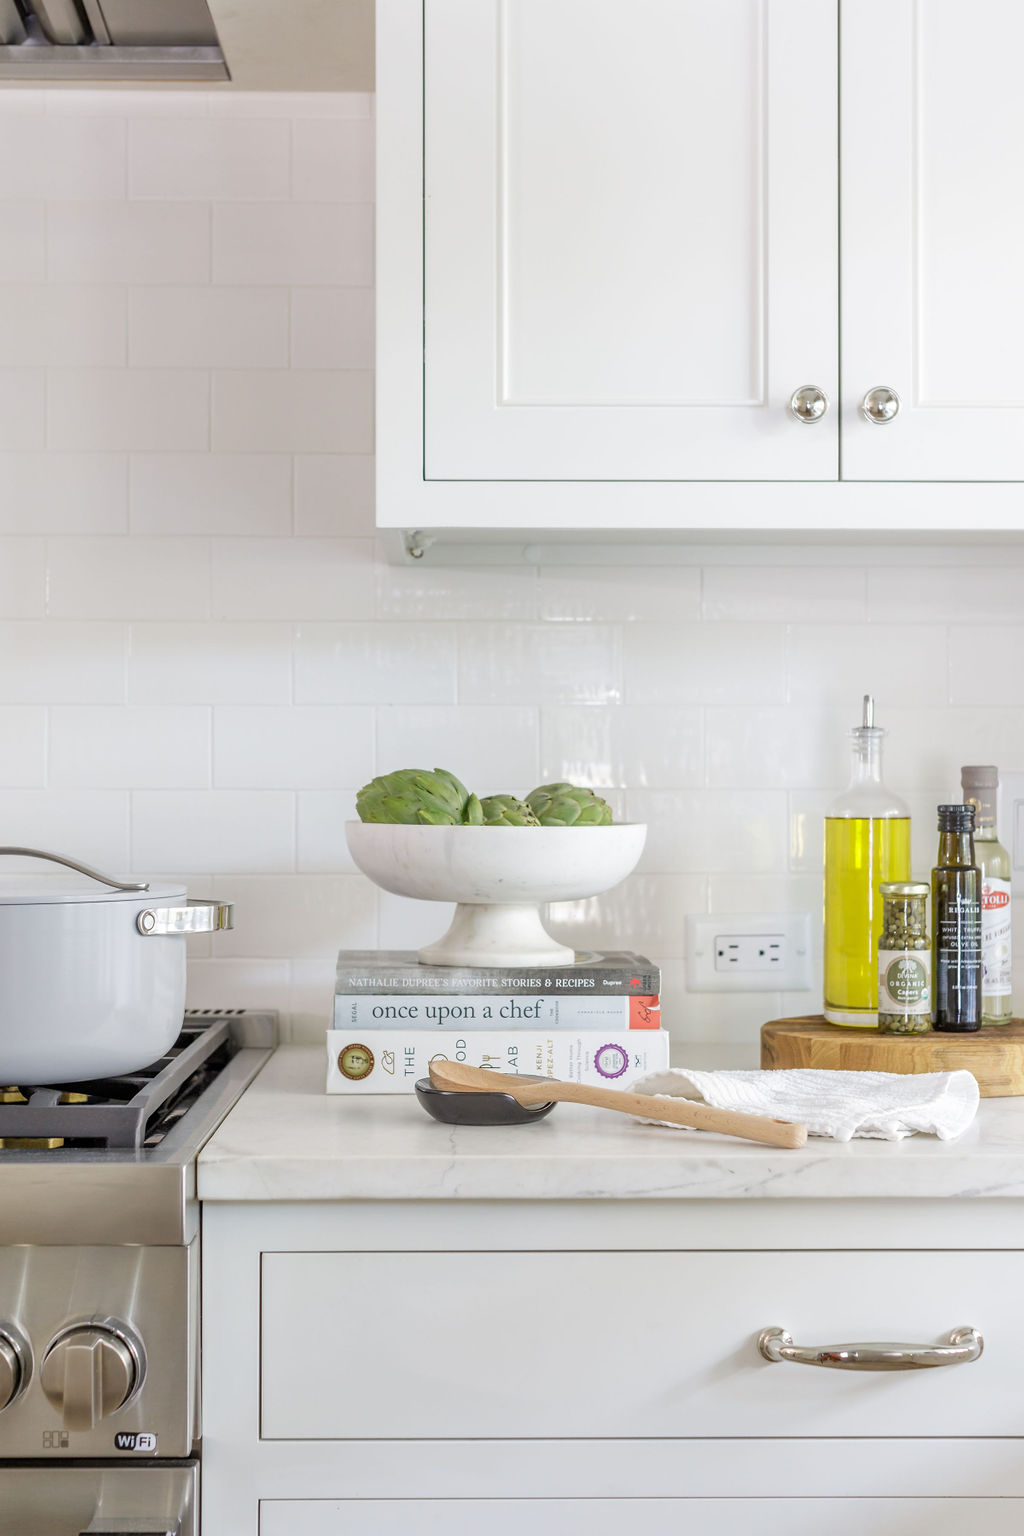
KEEP COUNTERTOPS FREE OF CLUTTER One way to avoid the feeling of being overwhelmed is to keep stacks of paper and clutter off the counters. This is one area most people struggle with because once a stack starts it seems to just keep getting bigger. Shred, recycle, file, scan or find a home for an item but don’t keep stacking.
UTILIZE VERTICLE SPACE One area that can be overlooked is the vertical space on a shelf, under a sink, or in a pantry. I like to use stackable drawers or theseto add storage and drawers for smaller items.
KEEP LIKE ITEMS TOGETHER One way to start this process is to go from room to room and gather items that are the same. Examples of this are batteries, office supplies, makeup, bathroom supplies, kids’ toys, etc. Keeping like items together saves time and money.
IF YOU TAKE IT OUT PUT IT BACK This may sound simple but can sometimes be difficult when you have more than one person living in a house. Putting things back in my opinion is the key to staying organized.
MAKE SURE EVERYTHING HAS A HOME Drawer inserts and labeled containers are a simple way to keep items organized. If everything has a home it makes it easy to find what you need and will ensure you only buy what you have room to store.
Follow these simple tips and start enjoying a home that is simplified, organized, and stress-free all year long. Happy New Year!
Some of the links in this post are affiliate links, which means I earn a small commission at no additional cost to you.
I’m so excited to share this kitchen and pantry project. My client and her husband have two young children and our goal was to make big changes without spending a lot of money. They are planning on renovating in the future so this was a temporary fix to get her organized and enjoy the space until they are ready for future changes. She told me she avoided the kitchen as much as possible because it made her stressed, overwhelmed, and frustrated. My first impression of this kitchen and pantry was there was too much stuff and space was not being utilized properly especially in the pantry. These were the steps from beginning to end on how we transformed her kitchen.
Purge
The first thing we did was a heavy purge. We removed everything out of the cabinets, counters, and pantry, and yes I mean EVERYTHING! She was ready to let go of the items that were taking up space and never used so she made my job easy.
Rework the space
The next step in the process was discussing what was working for her and what was not. Sometimes all it takes is a second set of eyes to rework a space and make it flow better. We made a list of items that needed to be replaced and repaired to make the kitchen function better.
Measure the space
I took photos and measurements of all areas so I could start the process of finding the items that were functional, look good, and budget-friendly!
Painted the Pantry
She was very fortunate to have a handy husband so we took advantage of him and put him to work. I suggested we paint the pantry white to brighten it and they were amazed how a simple coat of white paint can make such a big difference. A new coat of paint is a simple way to freshen up ay area in your home without spending a lot of money.
Lighting
The next thing that stuck out to me was the lighting or the lack of it. I always look at lighting whether in a closet or kitchen because good lighting can make any space better especially the kitchen which is the hub of the home. We added puck lights in the lower cabinets and changed the ceiling light to an affordable brighter option.
I used thisover the door system to add needed storage in the pantry. Many people overlook the door as an area that can provide extra storage, especially in small spaces.
Rolling Cart
I added this cart for added pantry storage and it fits the space like it was made for it. We stored disposable paper products, lunch boxes, and this silverware caddy to keep utensils organized.
Pantry Storage
She already had wire shelving in the pantry so I added shelf linersfor stability. I labeled white binsso the kids could grab their after-school snacks and help mom pack lunches. I also added an expandable shelffor canned goods and thisfavorite to store the kid’s breakfast packets. The cereal containers and two lazy susans finished the space and my goal was to make sure she could see what she owns whenever she looks in the pantry. We used the top shelf for larger items that were seldom used but needed to be stored.
Cabinet Storage
Her cabinets had an unusual amount of vertical space so I utilized the height by adding a single lazy susan on the top for taller items and a doublelazy Susan for spices and smaller items. even I also used these to stick on the inside of the cabinet door for spice packs and one on the wall in the pantry to store masks. Wearing masks is a reality so we decided to have a place she could store them and conveniently grab them for the kids when packing lunches.
Garbage Can
Why a new garbage can? Sounds trivial but made a big difference in her crisp freshly pained white pantry. Her other one was black and had seen better days so we added thisnew white one which was narrow and fit the space perfectly.
COFFEE BAR
I wanted to create a coffee bar because she and her husband are coffee drinkers and there was the perfect area in the kitchen for making this possible. The existing space had a dark piece of furniture that was not functional and provided no storage. I added this cart and it not only brightened up the area but was reasonably priced and a perfect fit. By moving the coffee pot it freed up space on her countertop near the stove which is a plus when you are cooking.
Keep it Simple
One thing I did from beginning to end in this project was to keep it simple! The open shelving in the kitchen had various items on it and the client said it was not functional at all. Since her cabinets were blue I decided to stick with one color and use the shelves for her everyday dishes. It not only makes them easily accessible at mealtime but gave her added storage in her cabinets. I chose these white dishes because they were simple, inexpensive, and looked great on the shelves. I decanted some of her everyday items intothese containers and added a touch of greenery. To say she was pleased with the results is an understatement. She now loves being in her kitchen and that was my goal!
Some of the links in this post are affiliate links, which means I earn a small commission at no additional cost to you. I only recommend products I personally use.
Welcome to the Neatly Designed blog, where I share my favorite organization tips, and must-have organizing products.
Recently I took a break from blogging to focus more time on family, moving, and getting my own home unpacked and organized after a recent renovation. I have received so many questions lately from those of you who are working from home and need help getting organized and setting up a temporary office. I thought now is the perfect time to get back to writing! Many of us thought we would be back in the workplace by July but that does not seem to be happening anytime soon. Working from home can be stressful especially when you do not have a specific area set up and no organization system in place. Today I want to share tips and suggestions on how to set up an inexpensive temporary office. The best way to be productive is to be organized!
CHOOSE A TEMPORARY SPACE
Remember this is temporary so it doesn’t have to be perfect. Your goal is to create a space that is simple and organized and will help you be more productive when working at home. In a perfect world, it would be nice to set up your office where there is some privacy with little disruptions but with kids at home that may not be an option. Do your best to find an area in your home that works for you even if it is the kitchen table. During our renovation, I set up a temporary office space not just for myself but also for my daughters who came home for a couple of months at the beginning of COVID. I used a simple folding card table as a desk and it worked great as a temporary fix. Use items that you already own and it will save you save time and money.
SIMPLIFY AND SORT
This step is so important because if you are using an area in your home that is normally not an office you need to keep it simple. Sort supplies before you begin and only have the absolute essentials. Temporary offices have to be pared down or they can get cluttered and unorganized very quickly. Keep it simple!
USE CONTAINERS
If you want to stay organized investing in the proper containers is key. Keep your office supplies organized with a desk drawer insert. Even if you don’t have a desk drawer store it on a shelf and bring it out when you need it. Store office items you use less frequently in labeled boxes and keep them in a bookcase or shelf. These are a favorite because they are functional but look great too!
SET UP A FILE SYSTEM
I like a portable desktop file box that can be out when you are using it but tucked away in a closet or on a shelf when not in use. I also recommend a collatorto keep important files at your fingertips for easy access.
INVEST IN A SHREDDER
This is definitely essential for the simple fact that it cuts down on paper clutter. Shred old papers you no longer need and open mail near the shredder so you can shred junk mail and keep it from piling up. Every home, in my opinion, should own a shredder it helps to control the endless piles of paper clutter.
LABEL
Labeling is another important way to stay organized in an office. Label all folders, files, and containers so you know what is in them. Labeling saves time and alleviates unnecessary searching for that one thing you know you have but you can’t find it!
I’m so happy to be back to answer your questions. If you have a question message or email me and don’t forget to follow me on Instagram @neatlydesigned for all of my latest tips on organizing and creating beautiful spaces.
 We are a few weeks into the new year and I have to honestly say I have never been one for resolutions. They usually start out great but as time goes on and the resolution is not attained we beat ourselves up emotionally which defeats the purpose. The concept is also the same when it comes to getting organized. Many people have the best intentions but once they get in over their head they feel frustrated, stressed, disappointed and embarrassed. These tips can help you not only start the process but keep your home organized throughout the year.


 Follow these simple tips and start enjoying a home that is simplified, organized, and stress-free all year long. Happy New Year!

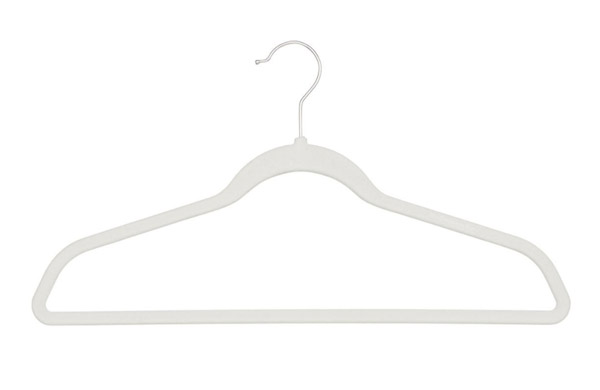
 Photo Courtesy of Wayfair