This Week’s Before & After…Teens Closet

This week’s before and after is a closet that was extremely tight on space and had to be shared by two teenage girls.

This was challenging but sometimes you just have to work with what you have and that is what we did.

IMG_2015
IMG_2016 (1)

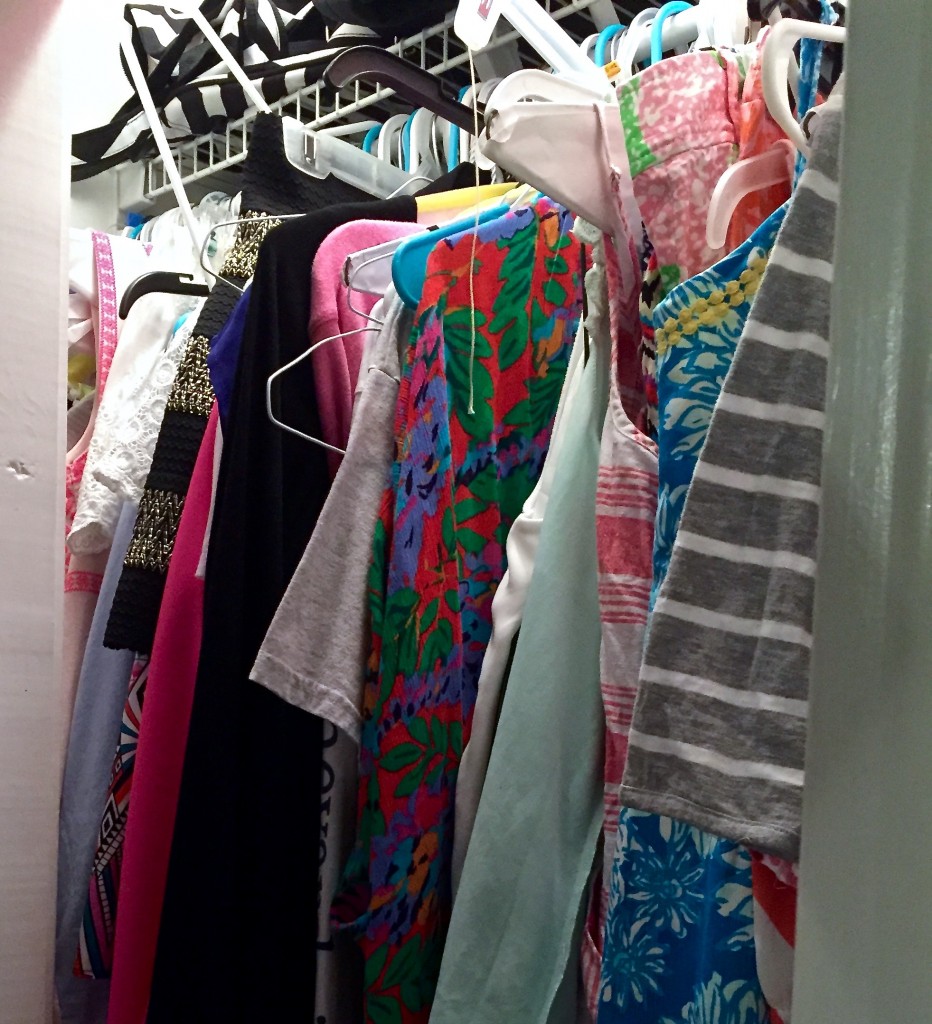
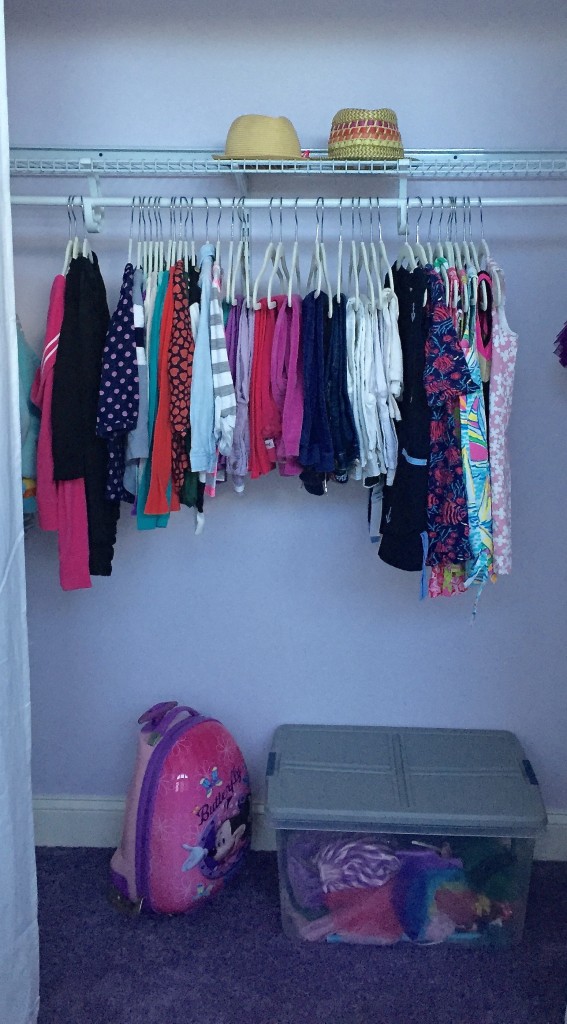
As you can see, in the before photos the difficulty we faced fitting the wardrobe of two teenagers in one closet.

The space was not being used to its potential and it just needed another set of eyes to see it in a different way.

With the girls helping every step of the way the process began by clearing the clutter. These are the steps we followed.

Removed everything out of the closet. Yes…everything!

Purged the clothes they did not wear or love. They were wonderful to work with because they were both ready to keep what was necessary and donate the rest. This is the biggest step in the whole process when you are dealing with small closets.

Cleaned the space. Simple but often overlooked.

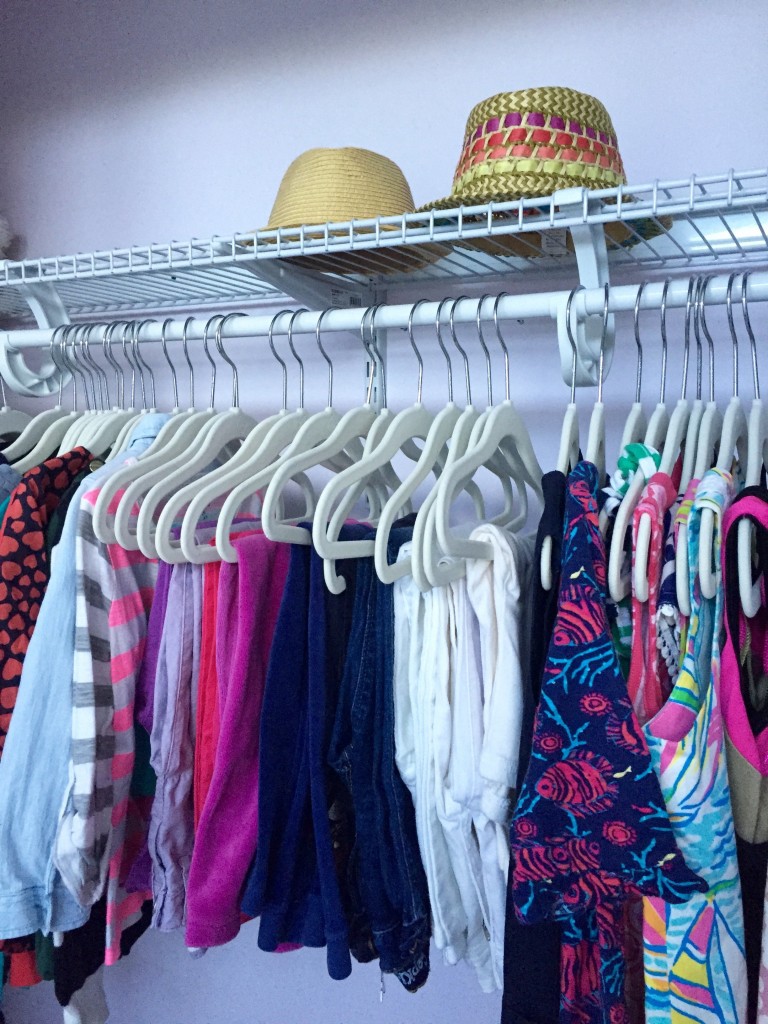
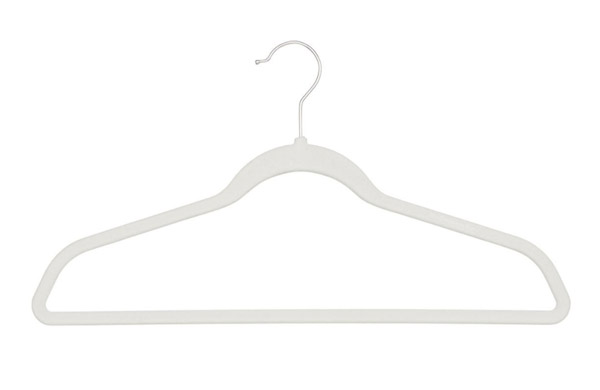
Changed all of the hangers. This is one thing I am constantly preaching because it makes such a difference without spending a lot of money.

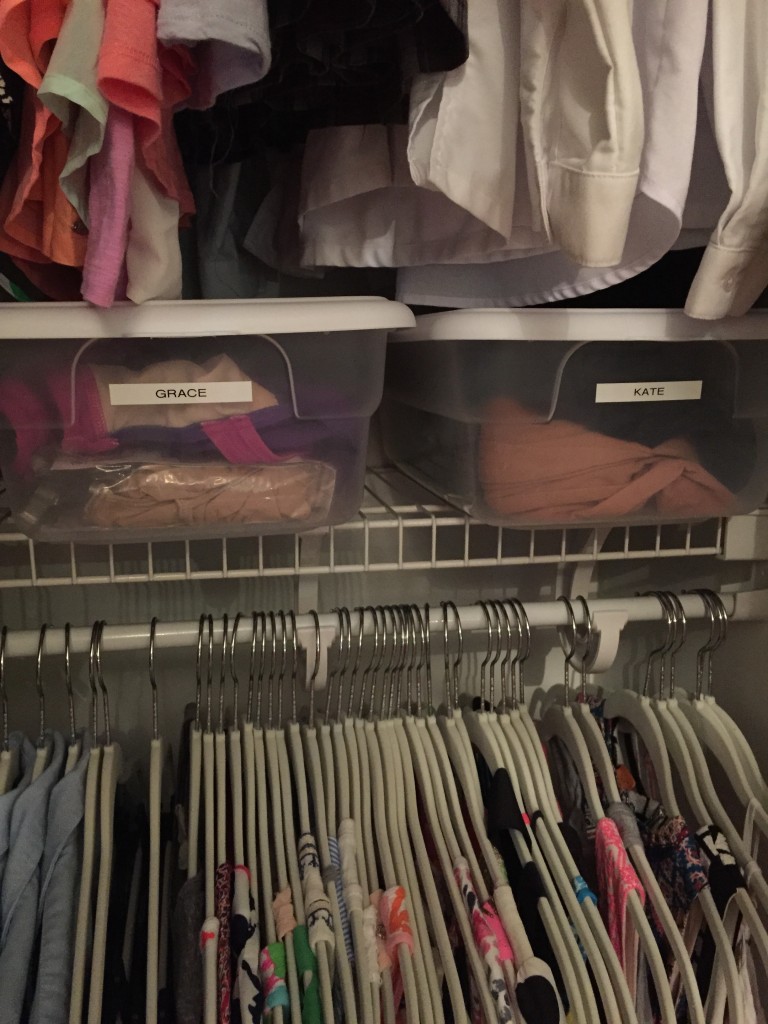
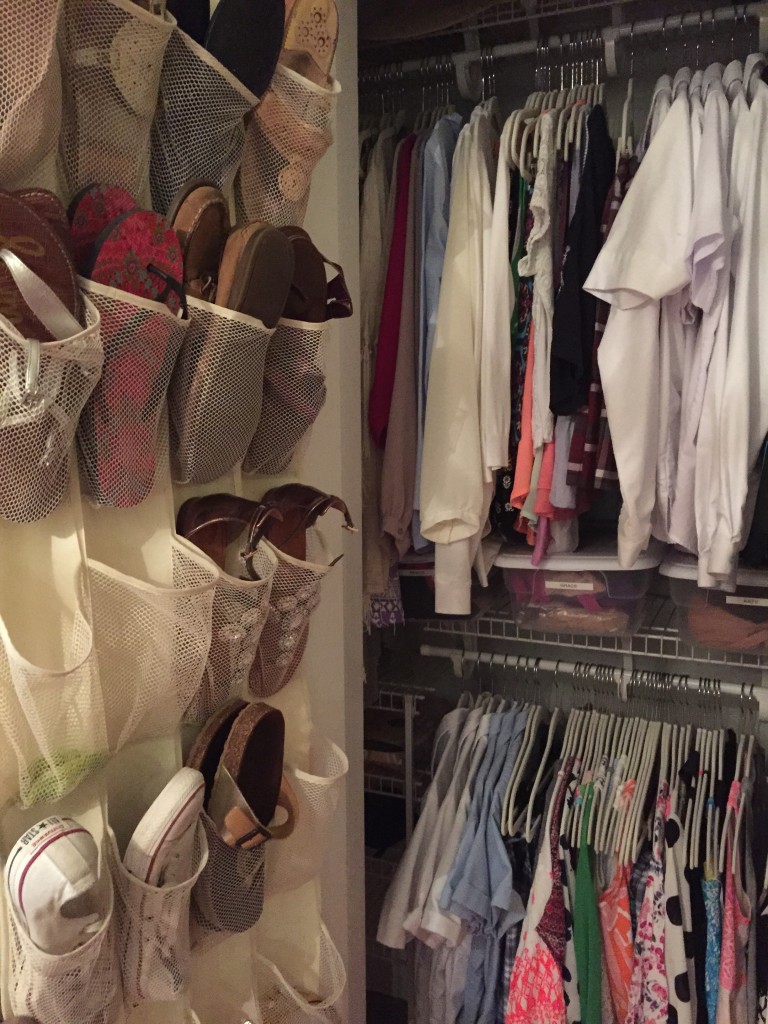
Talked about how to divide the space. In this closet I thought it was essential that they each had their own space. After they purged their clothes we were able to designate one girl on the bottom hanging and one on the top. The maxi dresses were  folded over a hanger so they could fit nicely in the space.

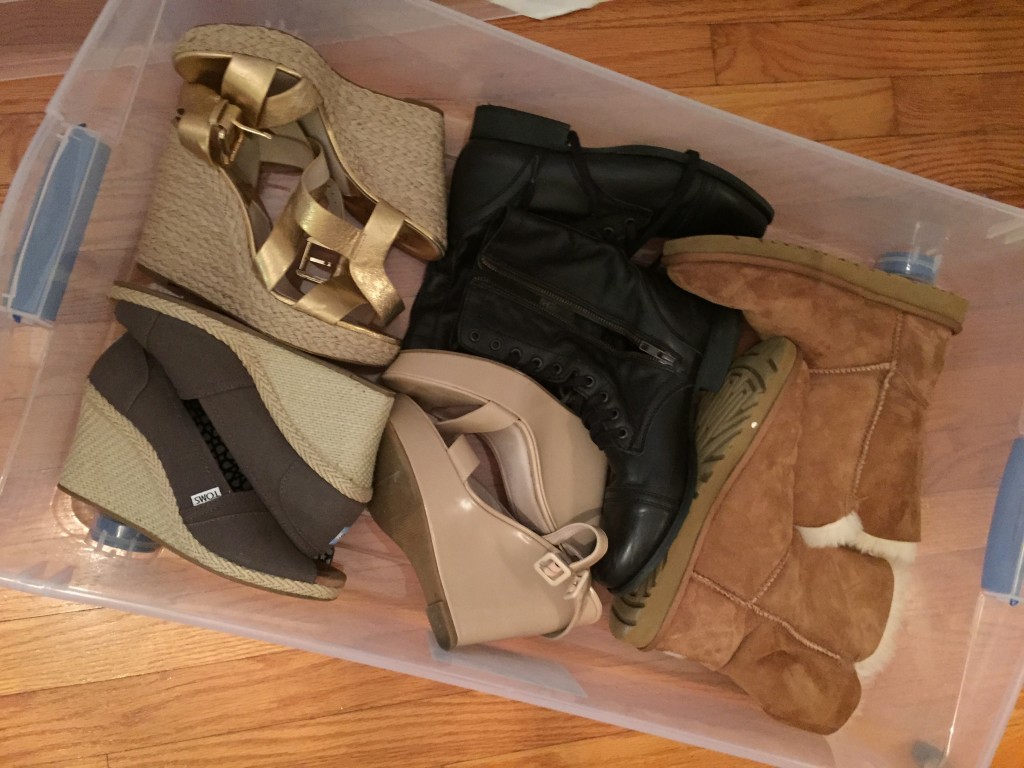
Removed seldom worn shoes and put them under the bed in a container. The shoes that remained were hung in an over the door shoe rack.

Moved all winter coats to a coat closet in the foyer. We live in Florida so keeping heavy coats or sweaters in your closet is not practical.

Labeled containers for the shelves. They both dance so I wanted them to have easy access to their dance clothes.
IMG_2311

IMG_2291IMG_2314In less than half a day the clutter was gone and they were organized and ready to start a new school year.

The items used for this project were new hangers and containers. Inexpensive way to get big results!

Remember it’s not the size of the closet it’s the way you organize it.

Kids Closet Before & After

IMG_1917_Fotor

Now that my children are grown its such a pleasure when I get the opportunity to work with clients and their children.

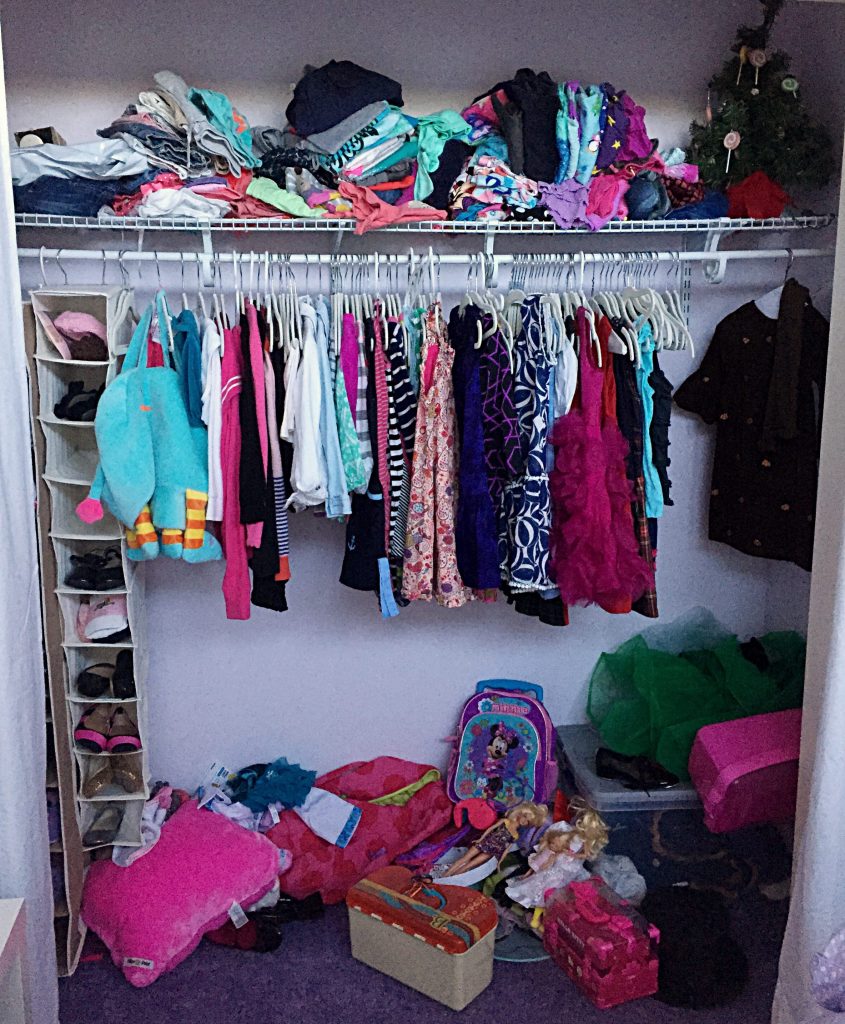
This child’s closet had become unmanageable and filled with clothes and toys she had outgrown and no longer needed.

The rules are different when it comes to working with children.

IMG_1950 (1)

These are few tips to make clearing the clutter with kids a little easier.

– Buy children’s hangers for children’s clothes. The right hangers give you a clean uniformed look.

– Have realistic expectations. Adults have a hard time purging and organizing so you cannot expect children to have the same attention span.

-Clear most of the cutter before they join you to help. If there is too much to do they will get overwhelmed and irritated and nothing will get done and you will be back at square one.

-Keep time in mind. Kids have a limit and if you push it you are setting yourself up for a melt down. Set a timer and make a game out of it.

-Make sure to utilize the space underneath the hanging clothes. Children’s clothes are smaller and if you are in need of more drawer space this is the perfect place to add. These drawers are my favorite for any closet.

-Toys are a task best done by parents. A child can fixate on one toy and and their reasoning on why they cannot get rid of it and nothing gets accomplished. If you want to teach them about donating to children who are less fortunate have them go through one toy basket or bin but do not expect them to purge a whole playroom.

IMG_1945 (2)

Kids like neat and organized spaces they just need help getting there. Once the space is organized the real lesson to be taught is keeping it that way.

Most children are so excited when I am done and they really do want to keep it organized. It is a less stressful environment and a place they now enjoy.

My little client did an amazing job clearing the clutter in her closet and in her drawers. She new exactly what she wanted to keep and what she wanted to donate.

I think I have a future organizer on the horizon.

Welcome to the Neatly Designed blog, where I share my favorite organization tips, and must-have organizing products.

Subscribe!

Sign up to receive new posts directly in your Inbox!

Shop my faves

Shop all my organizing faves

Partnerships

My Home Tour

Christine’s Top 10 Organizing Solutions

or, shop by the latest Instagram

Simple Solutions//Before & After Linen Closet

untitle_Fotor_Collage
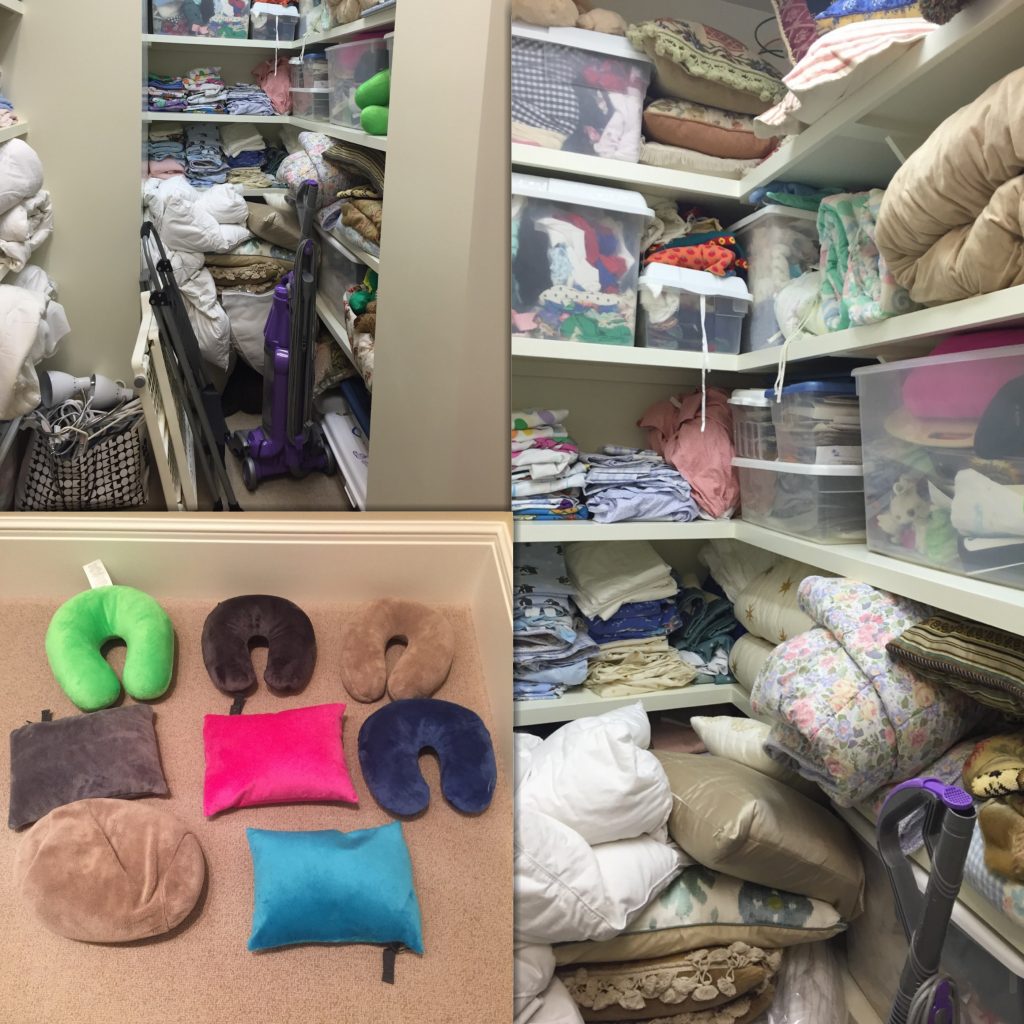
IMG_1451 (1)This week’s before and after is a linen closet that was purged and reorganized.

Most linen closets are home to more than linens. Use these simple steps to organize your linen closet.

-Remove all items that should not be there.

-Put all like items together and remove any that you no longer need.

-Donate sheets and blankets to a local shelter.

-Anything that is useless to you, can be useful to someone else. DONATE!

How do you know when it’s time to pare down and organize? If you can’t find what you need that is a sure sign!