5 Tips To Gain More Space In Your Kitchen

This weeks before and after started as a simple pantry makeover.

I realized in order to have the outcome my client was looking for the whole kitchen needed to be decluttered and reorganized.

These are five simple steps to an organized kitchen.

1. Clear the Clutter. Get rid of things you no longer need or use. You will be amazed how much extra space you will gain by this first step.

2. Clean the area before putting items back in the cabinets. If you want the area to look like new cleaning EVERYTHING before you put items back is important.

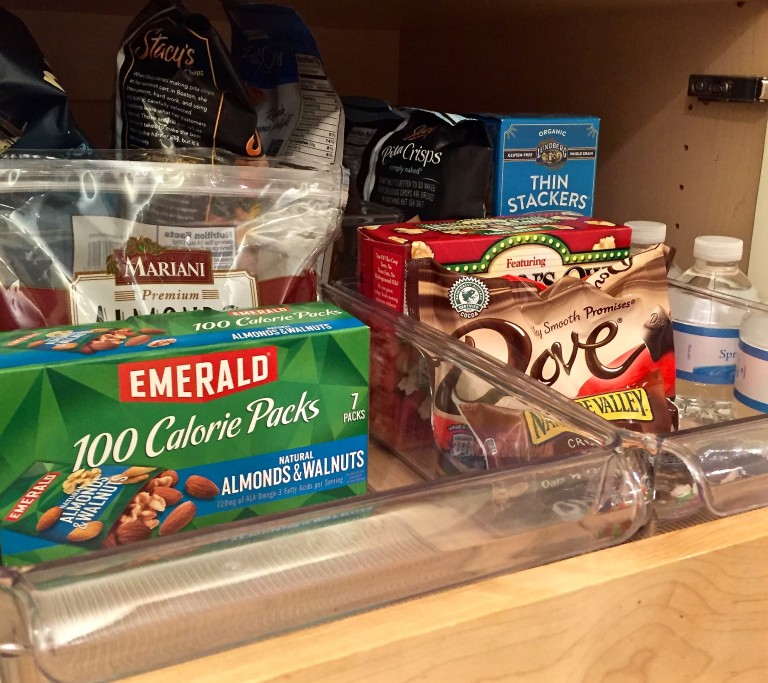
3. Group like things together. Think by categories snacks, pastas, soups or baking.  It will make meal prep easier and prevents over buying which saves money!

4. Remove what does not belong in a kitchen. Hammer, nails, lightbulbs etc. are taking up valuable space in a kitchen. Move to a laundry room or a garage.

5. Make a list of what needs to be repaired and fix it. A broken shelf, pantry door that won’t close or a lazy susan that doesn’t turn are reasons your kitchen is not functioning properly.
IMG_4398
T
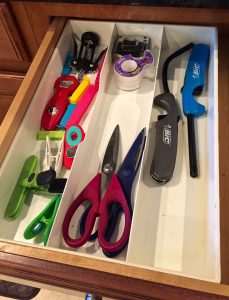
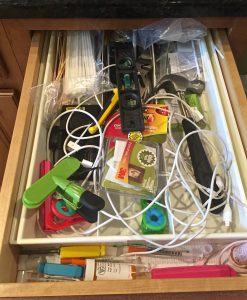
his is the junk drawer before.

IMG_4429
Junk drawer after clearing the clutter.

IMG_4436

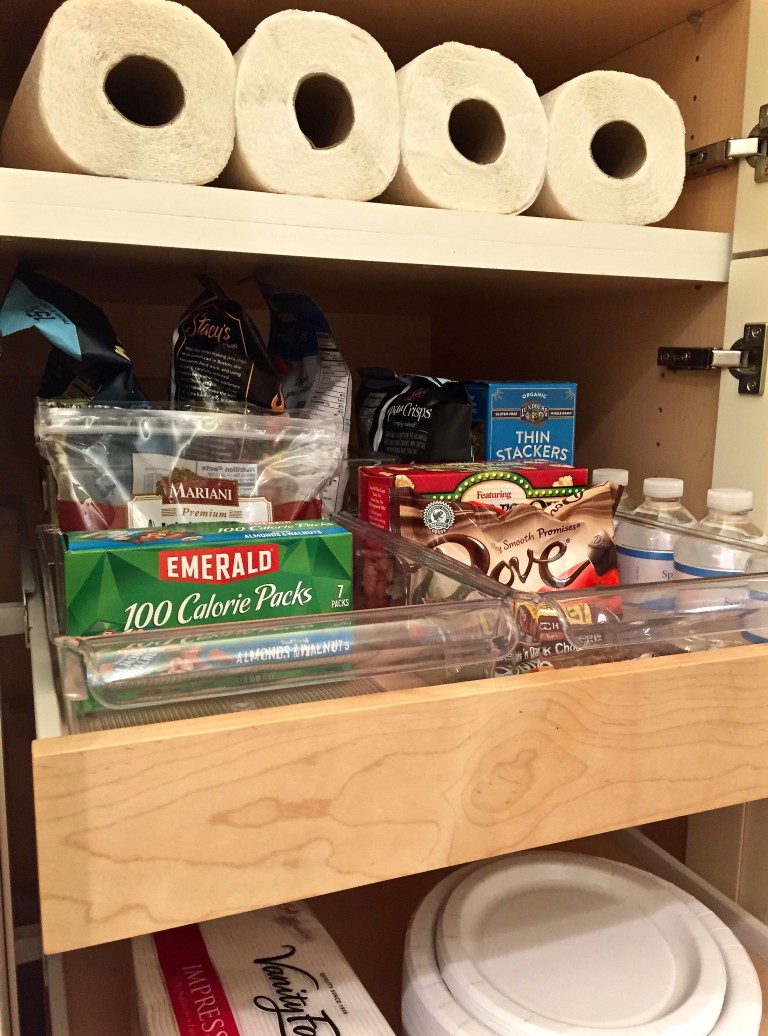
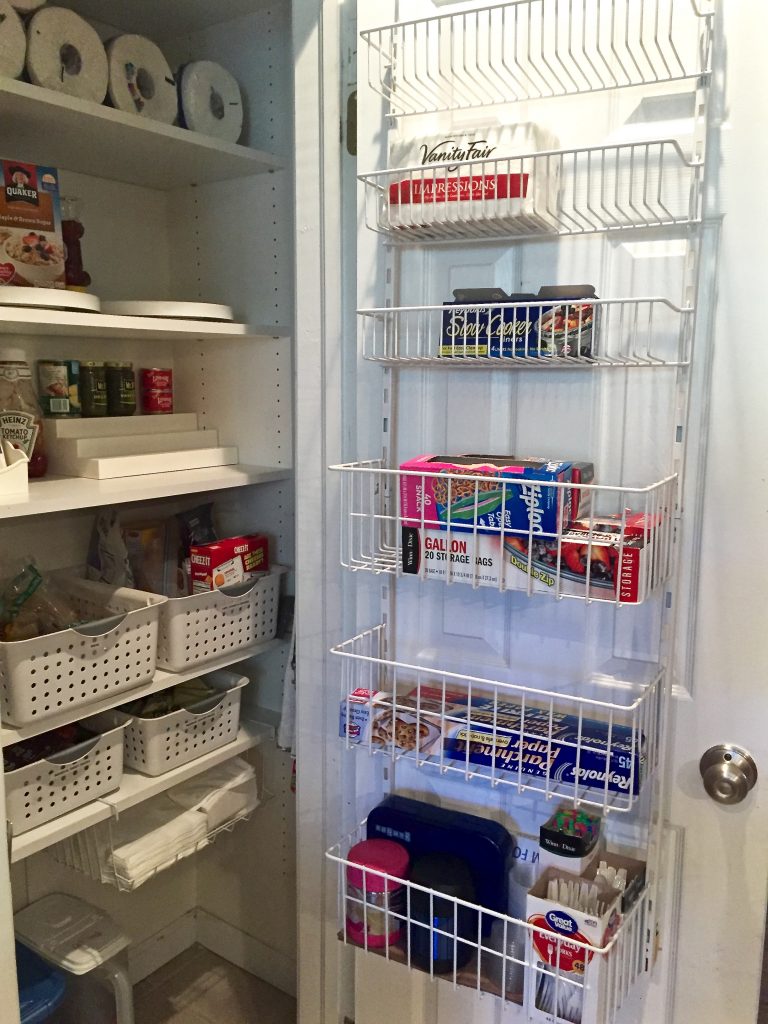
Use the inside of the Pantry Door for storage.
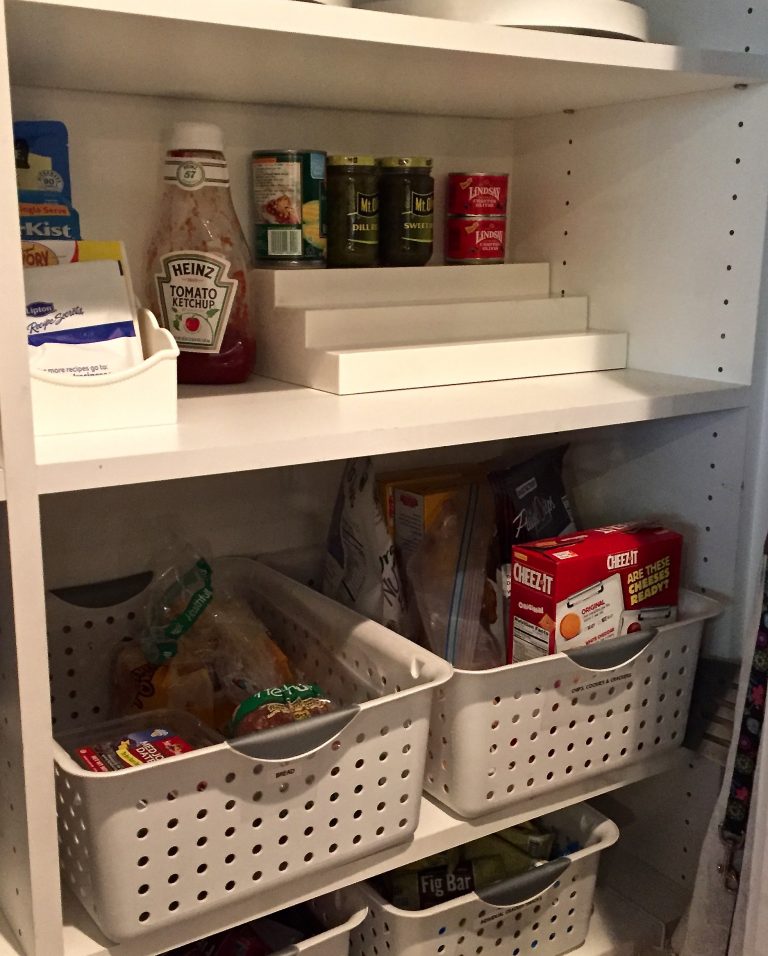
IMG_4447Labeling containers keeps a pantry organized.
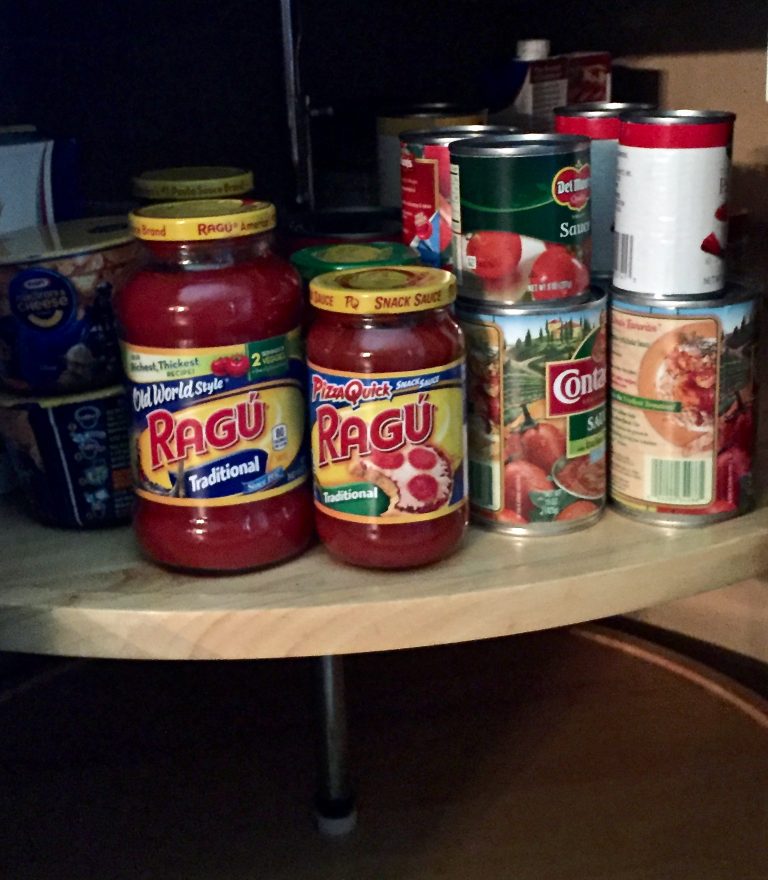
IMG_4421Keep like items together to prevent overbuying.

IMG_4419

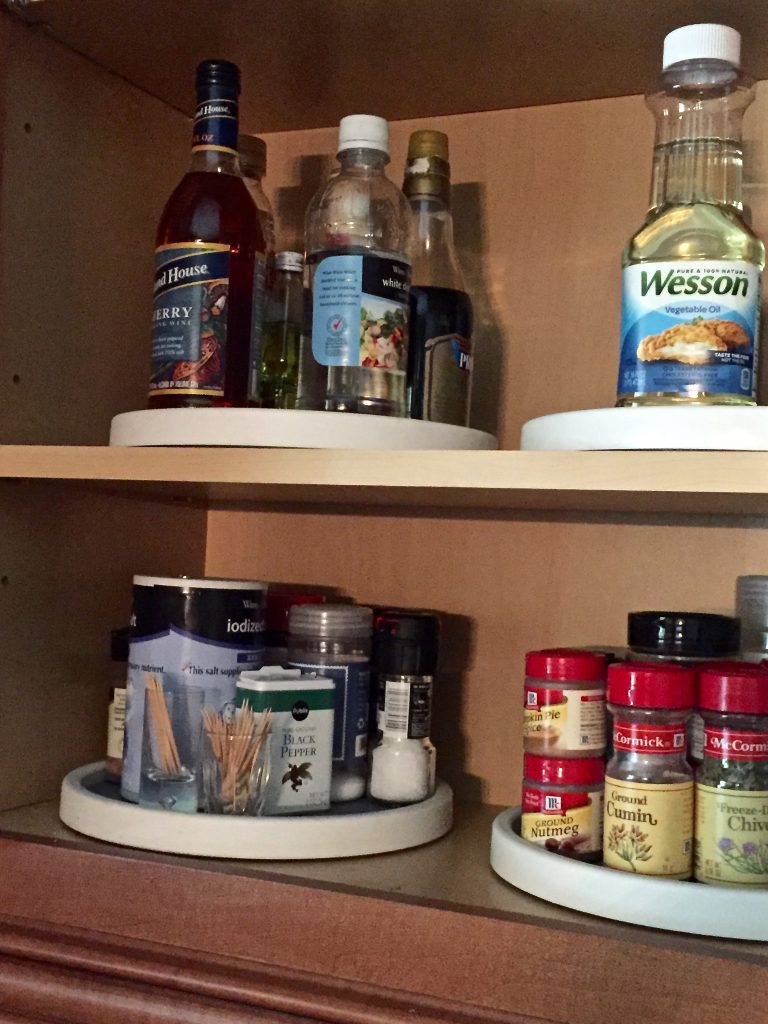
Cabinet Turntables provide easy access in cabinets and pantries.

Organizing a kitchen is a worthwhile project to tackle. The kitchen they say is the hub of the home so it should be organized and functional to make your life run smoothly.

Take the time to clear the kitchen clutter and start enjoying your new organized space.

Images via Neatly Designed
6 Simple Tips To Spring Clean Your Pantry

One of the most important areas in a kitchen is the pantry. An organized pantry allows mealtime to run more smoothly and saves you money!

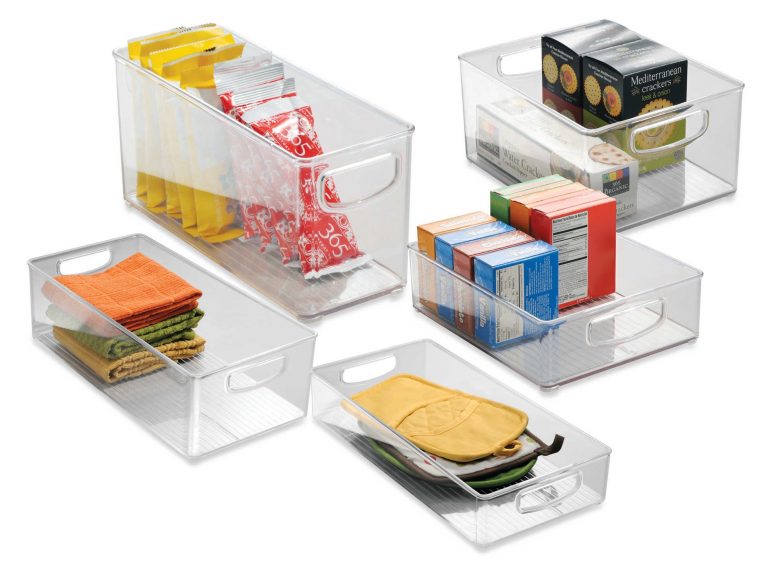
It’s no secret that my favorite item to organize a pantry is the Inter Design Cabinet Binz. I have used these not only for my clients but I have them in my own pantry.

http-::www.bedbathandbeyond.com:store:product:interdesign-reg-cabinet-binz-trade-storage-bin:207773?Keyword=Pantry+storage (1)
T
he Cabinet Binz come in different sizes to fit any cabinet or drawer.

IMG_3871

IMG_3876
Follow these simple tips to get your pantry organized.

1.  Remove everything out of the pantry. Like any other area in your home if you are going to makes changes you have to start with a blank slate.

2. Get rid any items that have expired or items that you will never use. Just because you bought something with the intent to use it but never did is not a reason to keep it.

3. Clean the space. Wipe down the shelves or drawers before putting anything back into the pantry.

4. Now that you have decluttered your pantry make keep a list of the items you need to purchase. Keeping an ongoing list will keep you from buying more spaghetti sauce when you already have three jars.

5. Measure the space before you go buy the items you need to get organized. Containers can become clutter when the ones that don’t fit don’t get returned.

6. Keep like things together. Example: Italian foods, paper products, soups, snack foods. This one step will prevent over buying. 

A pantry is the perfect Spring cleaning project. It doesn’t take a lot of time and the results are immediate!


Welcome to the Neatly Designed blog, where I share my favorite organization tips, and must-have organizing products.

Subscribe!

Sign up to receive new posts directly in your Inbox!

Shop my faves

Shop all my organizing faves

Partnerships

My Home Tour

Christine’s Top 10 Organizing Solutions

or, shop by the latest Instagram

Simplify Your Shelves With These Easy Steps

It’s Get Organized Month and I teamed up with Laura Morey from Simple Solutions Diva to clear the shelf clutter.

Here are some simple tips to get you started.

1. Remove everything off the shelves. Yes EVERYTHING!!!

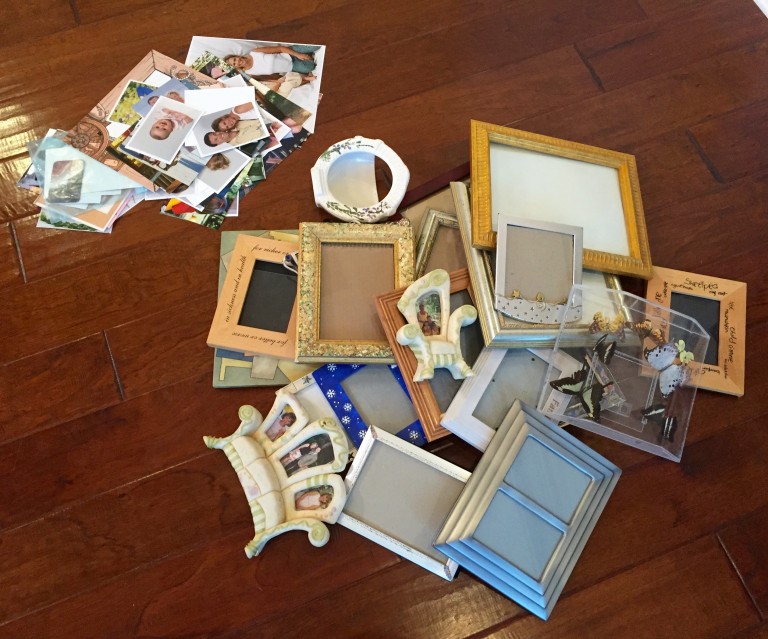
2. Take all the photos out of the frames and set aside the ones you want to keep displayed.

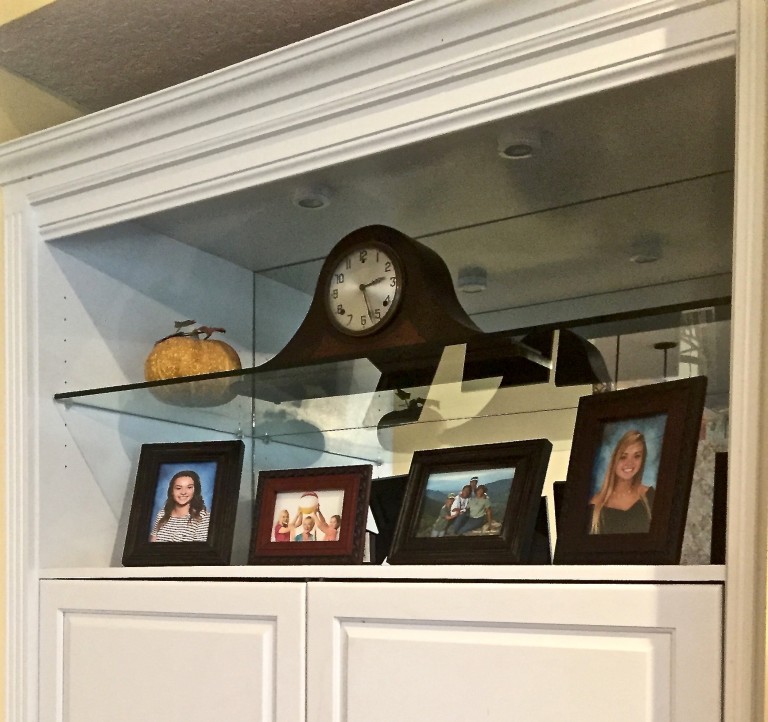
3. Decide on a color scheme for the frames. They don’t have to be identical frames but stick with one color (ex:gold, silver, brown).

4. Shop your house!!! Grab frames and other items that you love from around your house.

5. Adjust shelving to fit your needs.

6. Donate frames you no longer want to keep.

7. Put photos you want to keep but don’t want to display in labeled containers (future blog post coming soon).

IMG_3178

IMG_3180

IMG_3185 (1)

Remember less is more when it comes to displaying frames and other items on your shelves.

Display only what you love and want to see when you walk in a room.

Simplify in 2016!