Simple Solutions To Organize Your Jewelry On River City Live

Jewelry Storage

1 | 2 | 3 | 4 | 5 | 6 | 7 | 8 | 9

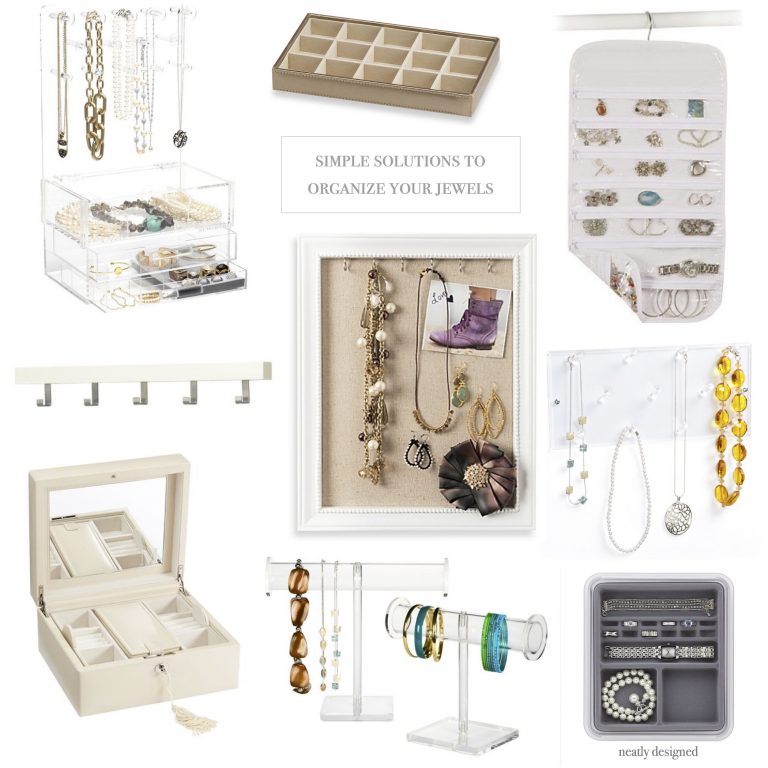
Today’s segment on River City Live with Eden Kendall we discussed how to organize your jewelry.

There are so many different ways to organize jewelry it really depends on how much you own and how much space you have to store it.

The first step to organizing anything is to get rid of the things you don’t love or wear even jewelry.

The next step is to decide how you want to organize your jewelry.

DRAWER
If you have extra drawer space in a dresser or a closet drawer trays are an easy way to keep all types of jewelry organized.

BOX
A jewelry box is not only functional but can be pretty sitting on a dresser.

TRAY
Wondering what to do with your grandmothers antique tray? Use it to store bulkier items that won’t fit in a drawer. In the above link you can see a perfect example of this.

HANGING
If you don’t have a lot of space use a hanging jewelry organizer in your closet. I also love to find even the smallest amount of wall space to hang hooks for necklaces.

The goal to organizing your jewelry is keeping what you love and finding the solution that works best for you.

Keep checking back to see more segments on clearing the clutter and getting organized on River City Live.
Simplify Your Shelves With These Easy Steps

It’s Get Organized Month and I teamed up with Laura Morey from Simple Solutions Diva to clear the shelf clutter.

Here are some simple tips to get you started.

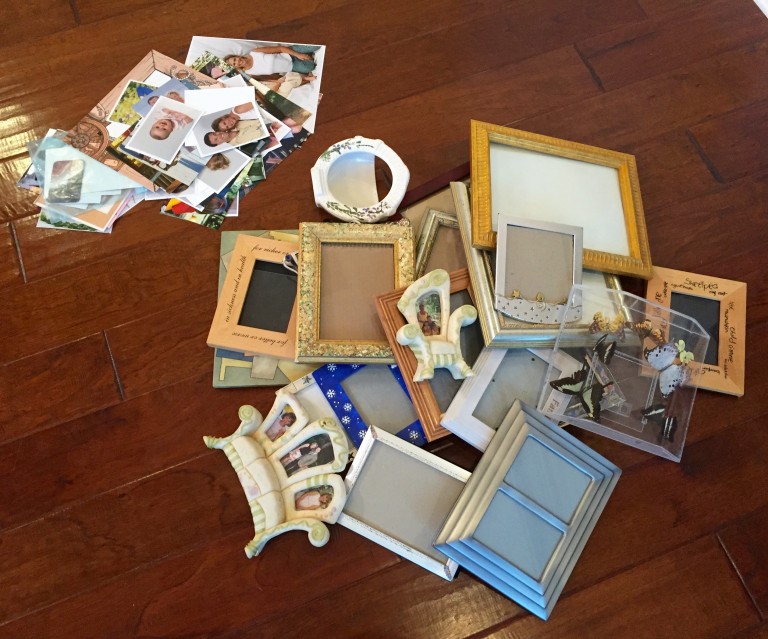
1. Remove everything off the shelves. Yes EVERYTHING!!!

2. Take all the photos out of the frames and set aside the ones you want to keep displayed.

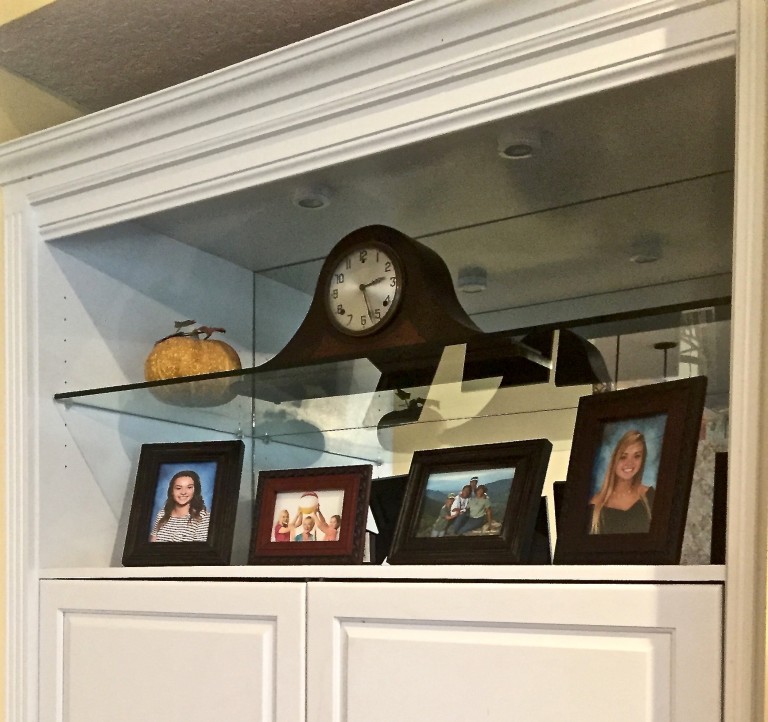
3. Decide on a color scheme for the frames. They don’t have to be identical frames but stick with one color (ex:gold, silver, brown).

4. Shop your house!!! Grab frames and other items that you love from around your house.

5. Adjust shelving to fit your needs.

6. Donate frames you no longer want to keep.

7. Put photos you want to keep but don’t want to display in labeled containers (future blog post coming soon).

IMG_3178

IMG_3180

IMG_3185 (1)

Remember less is more when it comes to displaying frames and other items on your shelves.

Display only what you love and want to see when you walk in a room.

Simplify in 2016!

Welcome to the Neatly Designed blog, where I share my favorite organization tips, and must-have organizing products.

Subscribe!

Sign up to receive new posts directly in your Inbox!

Shop my faves

Shop all my organizing faves

Partnerships

My Home Tour

Christine’s Top 10 Organizing Solutions

or, shop by the latest Instagram

The Organized Gift Closet

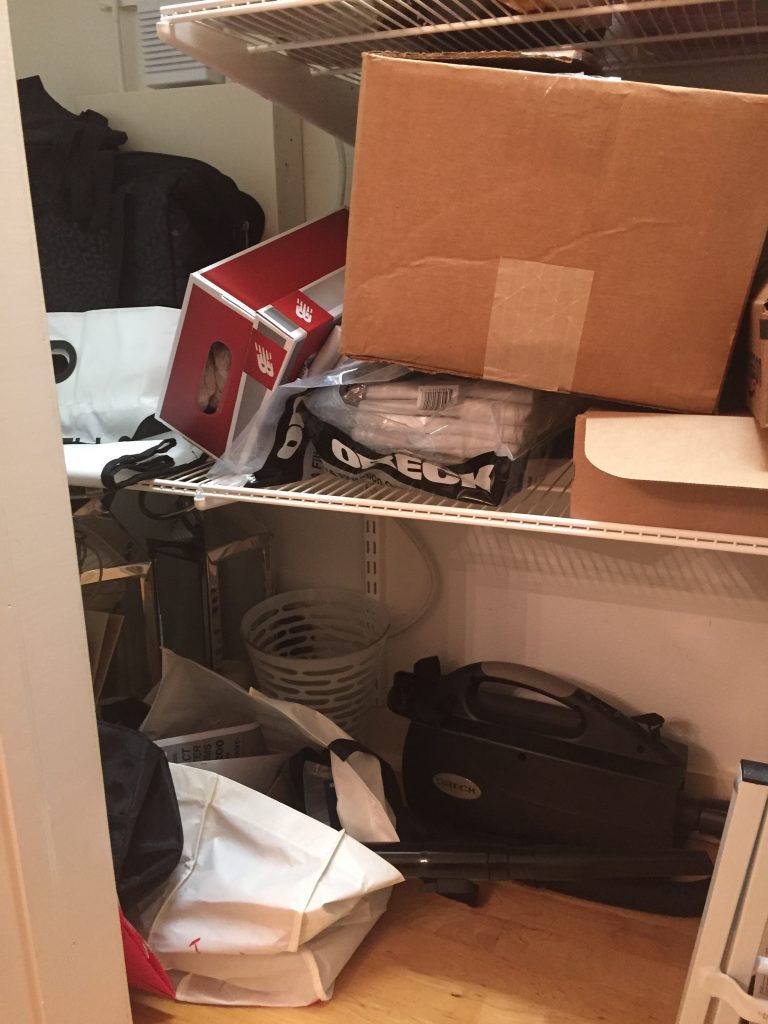
IMG_3173This weeks before and after is an organized gift closet. The existing space had become a catch all for just about everything.

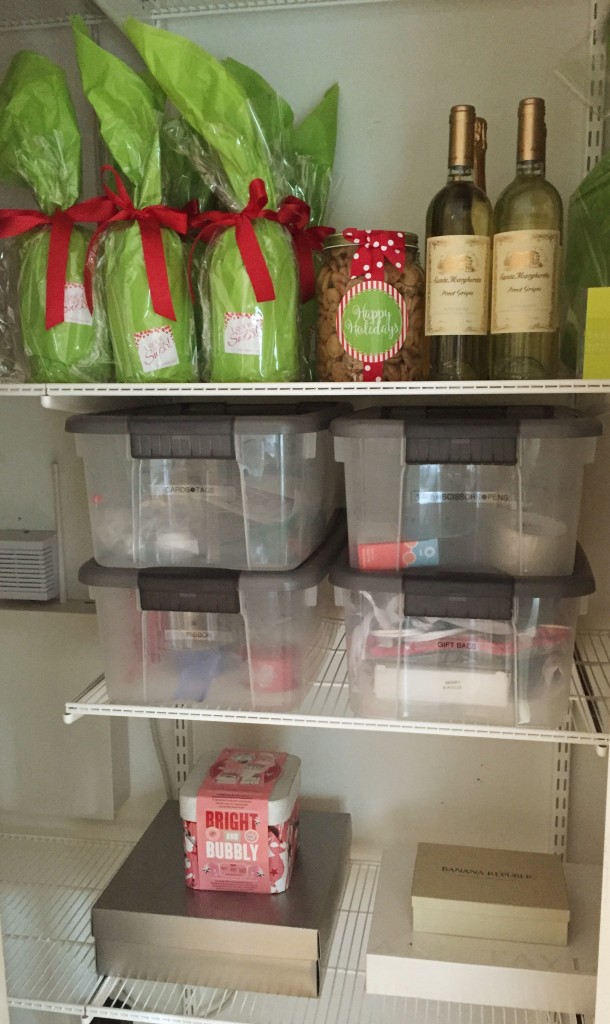
Not everyone has the space to devote a whole closet to gifts and gift wrap but designating just a couple of shelves keeps you organized and is a time saver throughout the year.

IMG_3388

Stock up on gifts, cards, bags or your favorite bottle of wine. When you need a gift especially at the last minute you are prepared.

IMG_3385

Here are a few steps to achieve a well organized gift closet.

1. What do you envision for the space? Need ideas? Pinterest or Houzz is the perfect place to design a board for your new space.

2. Gather all like items. Gather items throughout the house that would go into a gift closet. Ex: note cards, scissors, tape, gifts, packing and shipping supplies.

3. Remove everything. Only keep what you love, need and use.

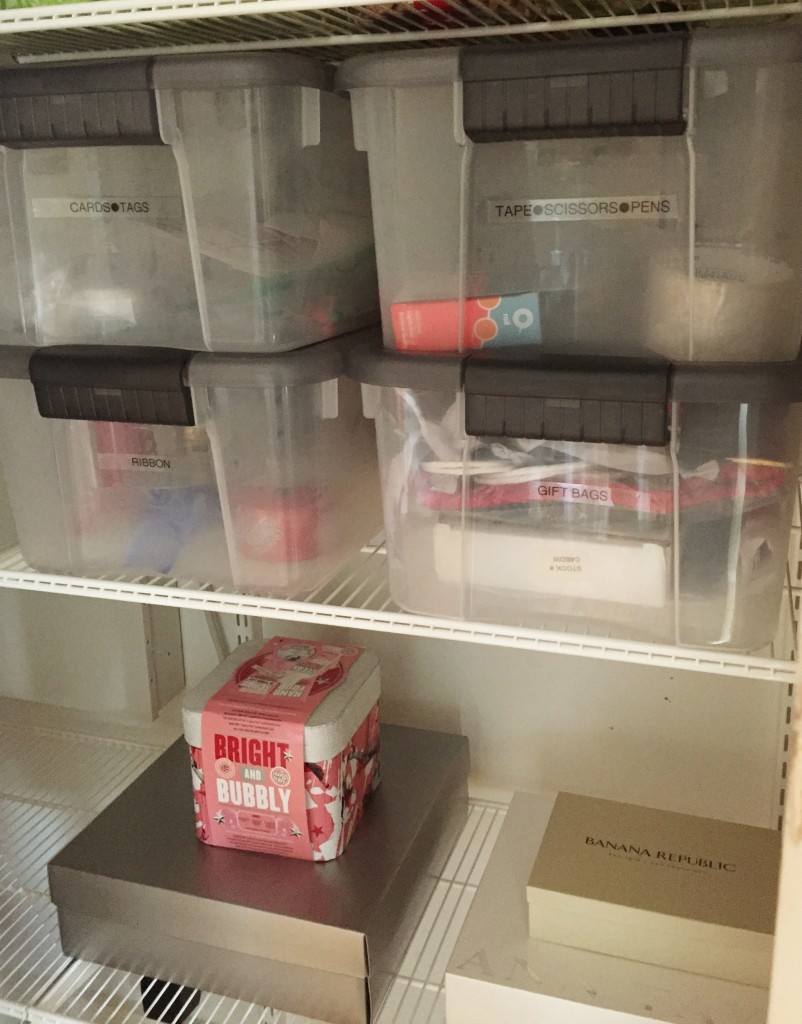
4. Label clear storage containers. If you can’t see what is in it you won’t use it.

5. Make a list. Jot down items that you need to complete the closet.

The closet is an elfa closet system from The Container Store. Their closet system is great because you can build around already existing items in a closet and utilize every bit of space.

Remember…Giving a gift should be enjoyable for you as well as the receiver.

Happy week before Christmas!

Images || Neatly Designed