The Organizers Closet

Today I’m sharing my new closet with you (this post may be a bit lengthy)!  The master closet was just one part of an overall renovation that consisted of a new master bedroom, bathroom, powder bath, office and outdoor living space.

The master closet was one of the most important areas of the renovation for me. Not only because I’m a women, but I share the closet with my husband. Most women gasp at the thought of that! In November we will have been married 30 years and some of our best conversations have occured in the closet and I didn’t want this closet to be any different.

I was very fortunate to work with a great team and one of the most important lessons I learned is sometimes a job is too big to tackle on your own and you can’t be afraid to ask for help (even if you’re an organizer)!

I knew I needed help putting my ideas on paper and having used California Closets previously thats where I began. A friend referred me to Betsy and after our first meeting I knew we were going to come up with the perfect design to fit my needs.

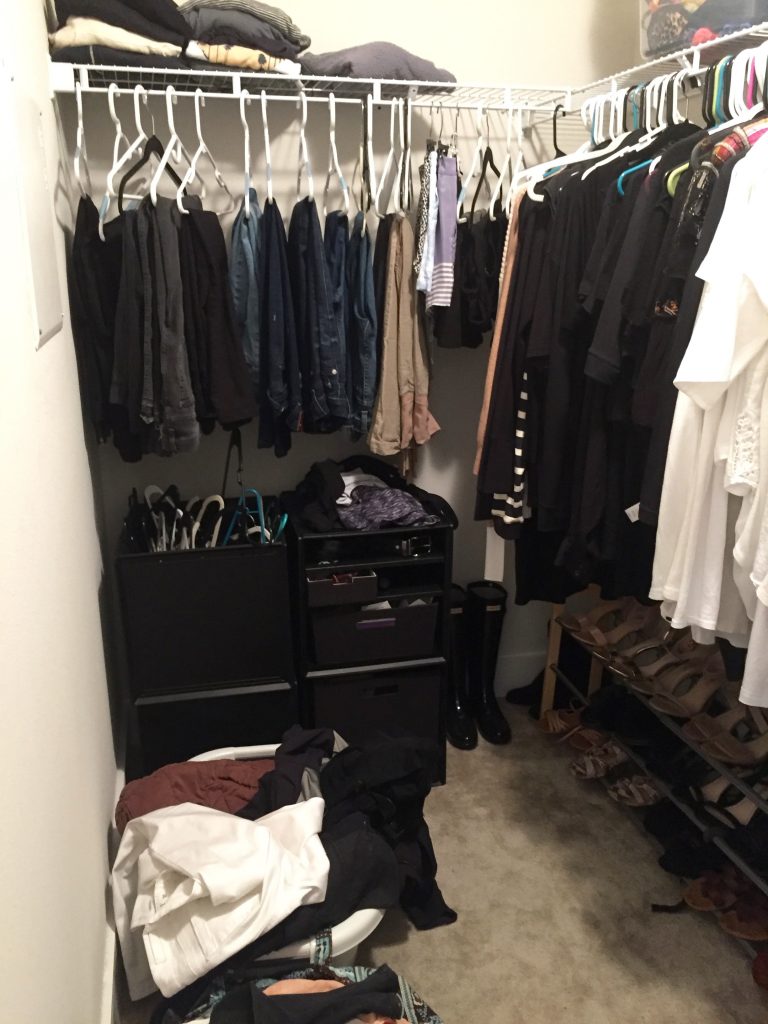
As an organizer I wanted to make sure every bit of space was utilized. For that reason I chose to use a mirrored pocket door to give more space in the room. I described all of my needs and showed her my exisiting closet. I gave her a list of what was working and what was lacking. I also wanted to make sure there was adequate drawer space for me and my husband.

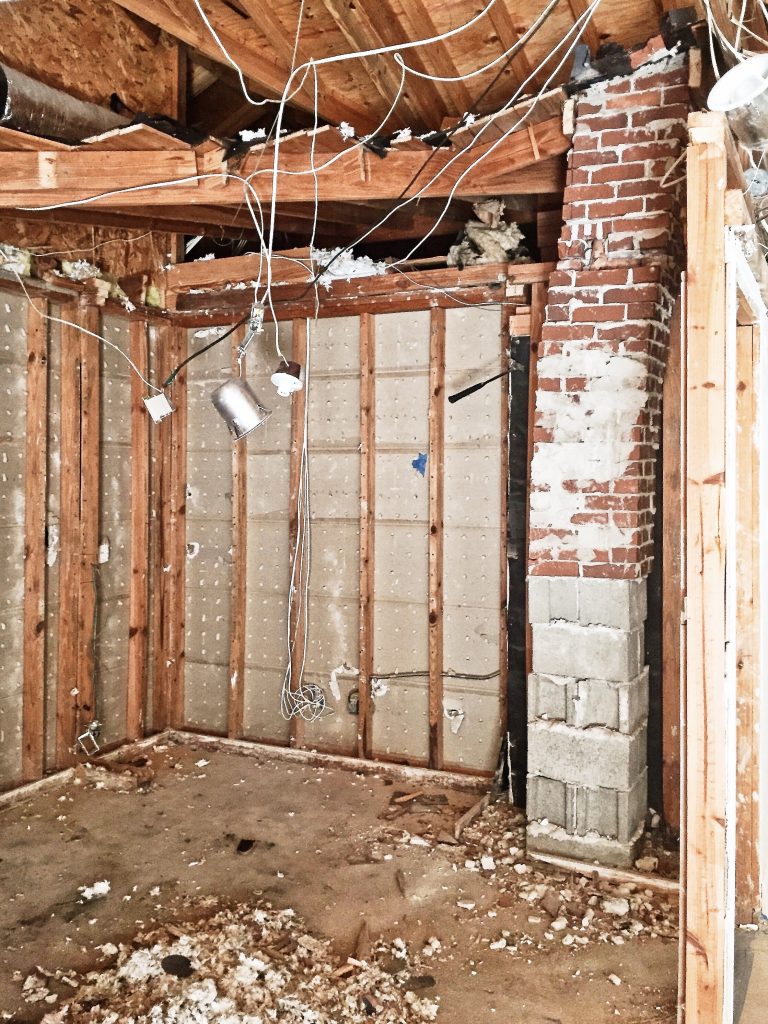
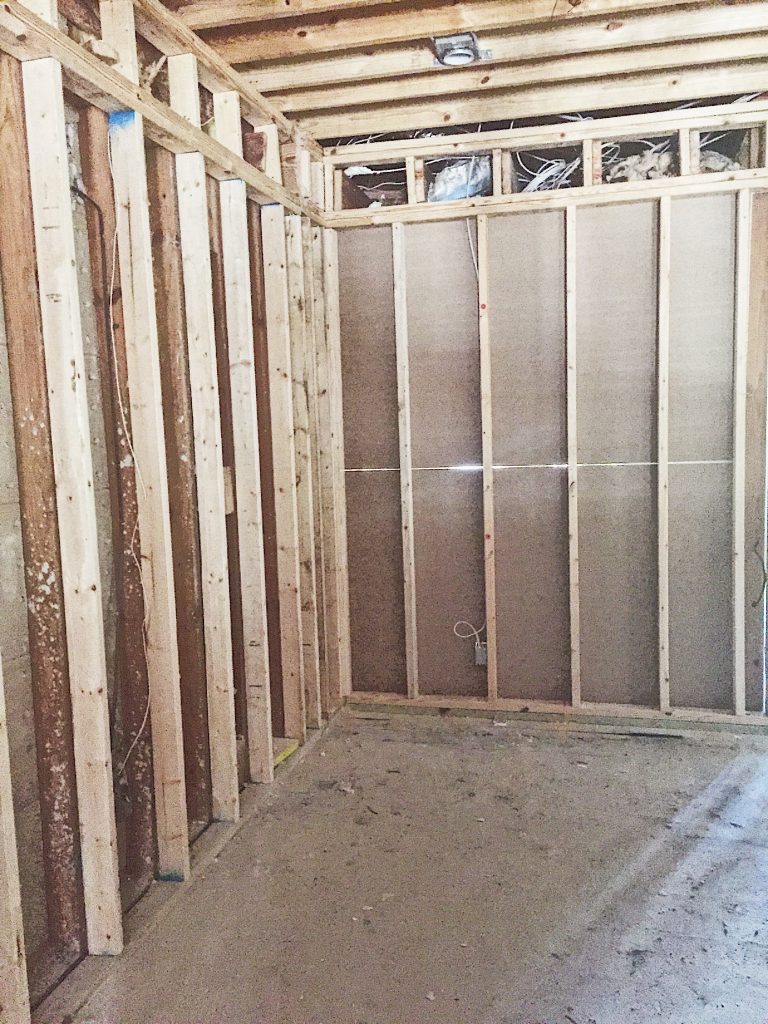
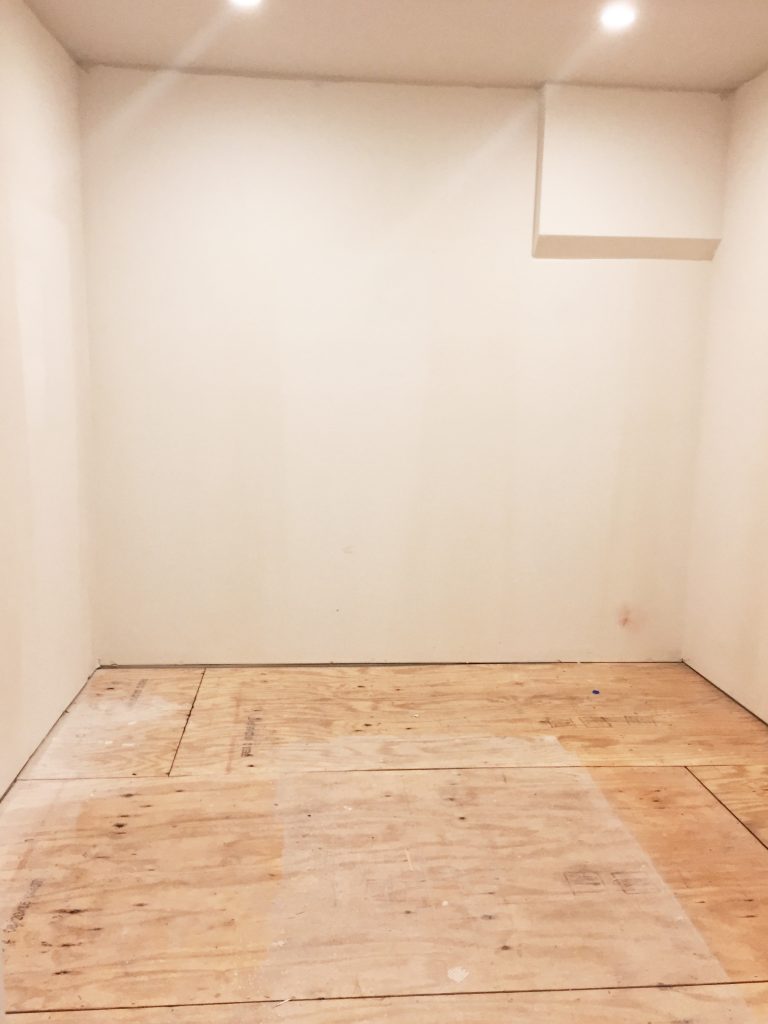
After measuring the space for the new closet, which was nothing but a plywood floor, four walls and no lighting, she took all of the information back to her drawing board. We exchanged emails with minor changes and I went to the showroom to get a closer look at my options. I knew I wanted white cabinets because they always look neat and clean and never outdated. There were many options so I was glad I was able to go to the showroom and see them in person.

I wanted the hardware to blend with the bathroom cabinet hardware because when the door is open you can see them both. I decided to use the Grafton Pull in polished nickel from Restoration Hardware and it was perfect!

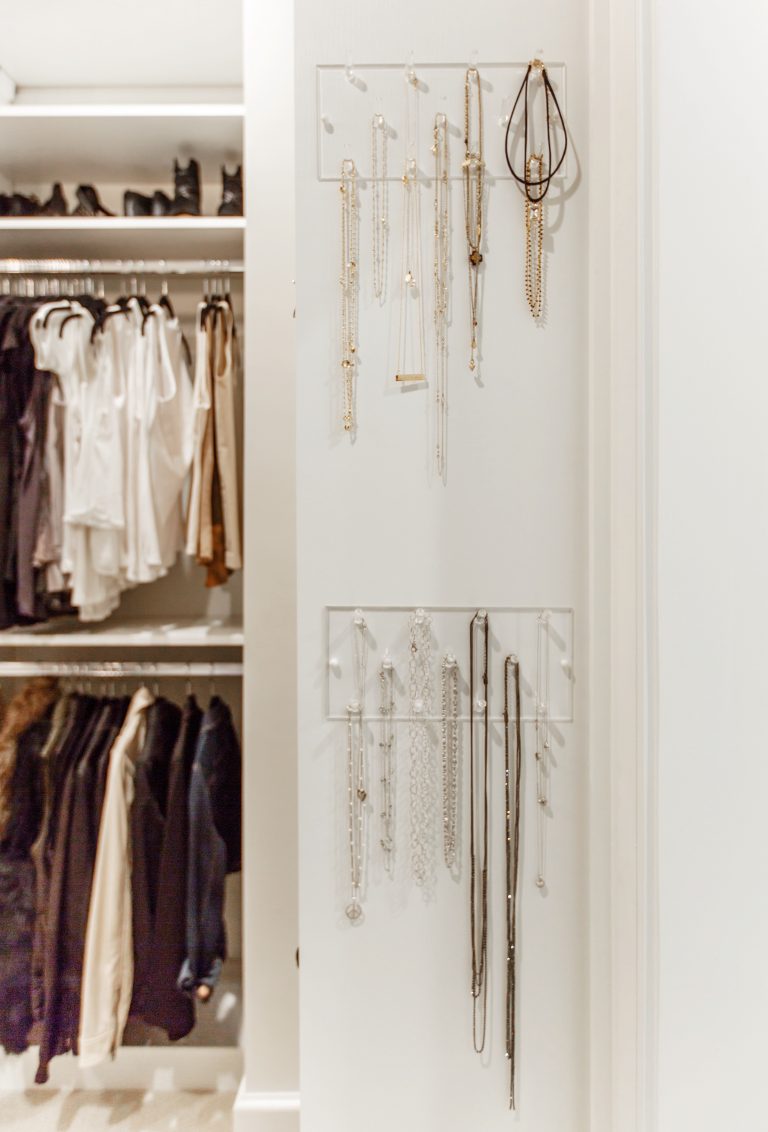
Working with a professional closet designer helped me figure out how to use odd spaces that can’t be changed. We had to deal with an electrical panel in the corner and it became the perfect spot for tall boots. I even turned useless wall spaces into a home for belts and jewlery. The important add ons were tie racks and valet bars and that made for a happy husband.

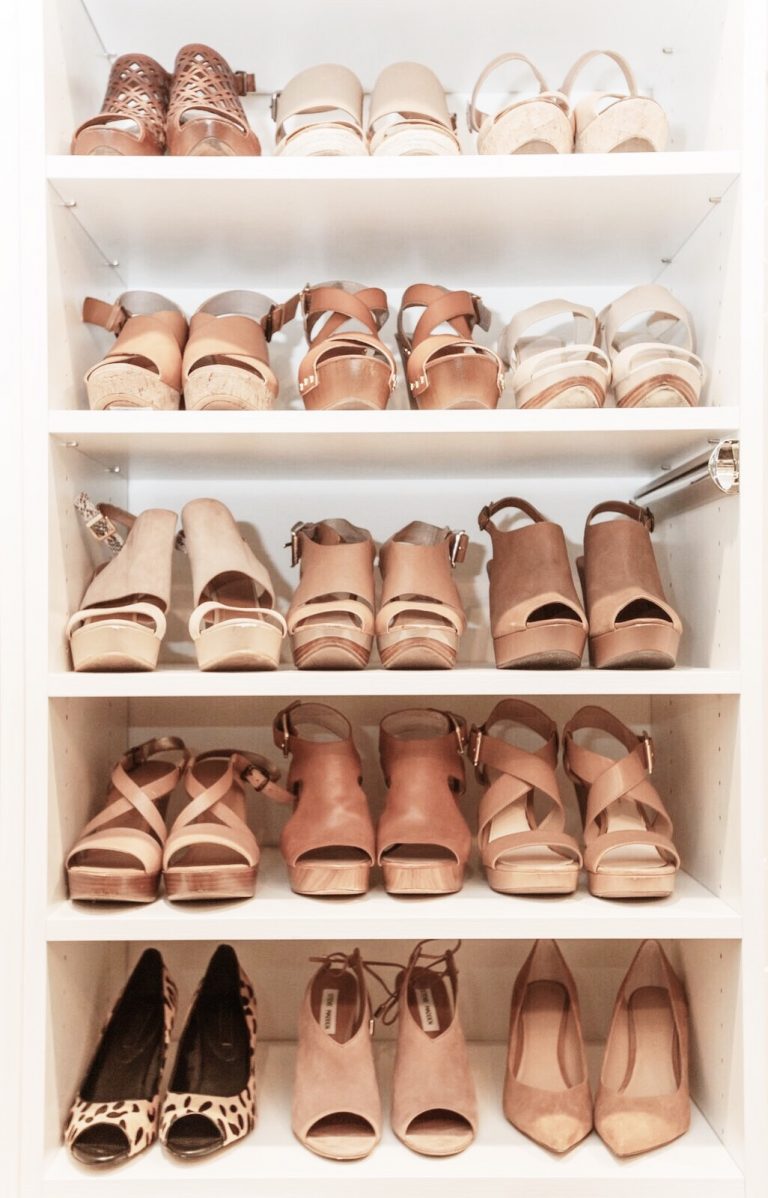
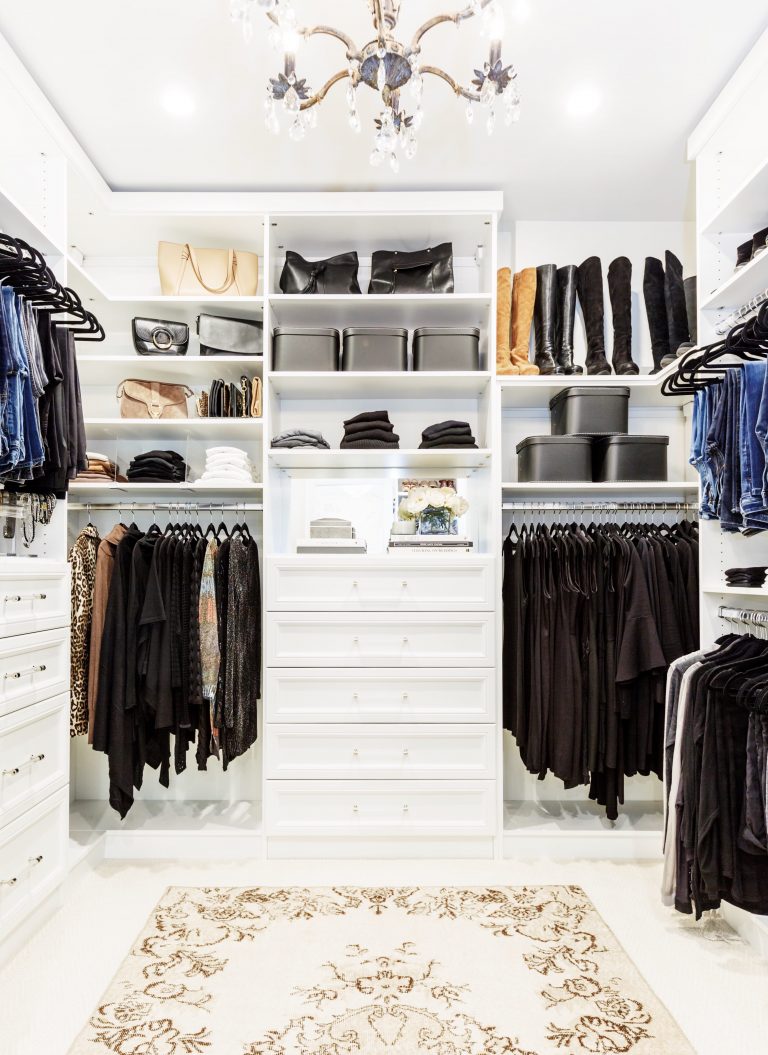
After the closet was installed the organizer in me took over and I decided to do what I do best, organize. I chose black hangers  but really its a matter of preference. The imporant thing is that you keep them are all the same color. I put like things together and color coded. I used boxes on the shelves for winter items and travel assecories, an acrylic collator for smaller handbags and acrylic shelf dividers to keep my t-shirts neat and organized. My out of season shoes are stored on an upper shelves and my everyday shoes fit perfectly side by side in the tall unit designed just for shoes.

I was already working with my designer Kelly at Orangerie Home on the plans for this project so now I was ready to have her work her magic on the final touches in the closet. Kelly suggested bringing in an antique chandelier that I already owned and mirroring the small back wall above my center drawers. I love how one mirror makes the room feel even larger. The area rug she chose brought in the warmth I was looking for.

We are still looking for the perfect bench and when we find one I will be sure to share!

Next up the organizers bathroom so make sure to subscribe to get all the latest posts.

Photography by Jessie Preza

SaveSave

SaveSave

SaveSave
SaveSave
SaveSave
SaveSave
SaveSave
SaveSave

SaveSave

SaveSave

SaveSave

SaveSave

SaveSave

SaveSave

SaveSave

SaveSave

SaveSave

SaveSave

SaveSave

SaveSave

SaveSave

SaveSave

SaveSave

SaveSave

SaveSave

SaveSave

SaveSave

SaveSave

SaveSave

SaveSave

SaveSave

SaveSave

SaveSave

SaveSave

SaveSave

SaveSave

SaveSave

SaveSave

SaveSave

SaveSaveSaveSave

SaveSave

SaveSave

SaveSave

SaveSaveSaveSave

SaveSave

SaveSave

SaveSave

SaveSave

SaveSave

SaveSave

SaveSave

SaveSave

SaveSave

SaveSave

SaveSave

SaveSave

SaveSave

SaveSave

SaveSave

SaveSave

SaveSave

SaveSave

SaveSave

SaveSave

SaveSave

SaveSave

SaveSave

SaveSave

SaveSave

SaveSave

How An Organizer Survived A Home Renovation

BEFORE CLOSET

During the summer of 2016 I embarked on a major home renovation. As an organized person I tried to be extremely prepared before we began our project. I had renovated a previous home so I knew what I would be up against or so I thought. When you are renovating a home you can never be totally prepared but you can survive.

I kept a detailed account of all of the things I experienced so I could share with others before they start their own renovation.

Keep a Notebook 

This is so important to keep you organized through the entire renovation. Make lists, jot down information and if you have to refer back to something it will make it easier to read your notes. It may sound old school but sometimes its best to keep it simple.

Clear the Clutter Before You Begin

I know this is obvious coming from me but I help people downsize and move as part of my job and I always stress to clear the clutter on the front end. When you are ready to put everything back into your new clean space you will be glad you did. Get rid of the things you don’t love, use or need and start fresh with a simple less cluttered space.

Keep a Renovation File

Keep a file on your computer to keep track of all your emails and keep labeled files for all of your receipts. Make a warranty notebook for all of your manuals and warranties. If you move the new owners will thank you!

Start a Pinterest Board

I could not have done this renovation without Pinterest. I made a board for each room I remodeled and it made it so much easier to communicate with my designer. It’s easier for someone to understand what you want when they see it rather than guessing and it turning out completely wrong.

Make a Budget

This is a tough one because we had a budget and still went over. No matter how hard you try sometimes it’s out of your hands.  Communicate the budget with your contractor so they understand there isn’t an endless money tree in the backyard.

Find a Reputable Contractor

I know you have heard this before but this is by far the most important part of a renovation. If you don’t get along with your contractor the project will last longer and their will be constant conflict. Interview more than one and when you meet them act like you are the CEO of a company and you are interviewing them for a job. Talk to their previous clients and ask to see their work including the small details such has trim work. Do your homework and ask questions!!!

Renovations Are Not Like Building a Home

Renovations are not like building a home especially when you are remodeling an older home. There is always those unexpected things that come up that no one could anticipate and that is why it is so important to have a contractor that is really knowledgable in renovations not just new construction. I cannot stress enough how important this is.

 Temporary Storage 

If I had a dollar for every time the contractor or a sub said don’t worry you won’t even know we were here I’d be a millionaire! You will know they were there by the amount of dust that accumulates through out your home even if you are remodeling just one area. Put what you can in a temporary storage unit or get a POD. You will thank me for this later. Its hard to stay on top of the dust so if you can afford to use a cleaning service this would be the time to put it in your budget.

Take Pictures of Everything

I took pictures prior to the renovation, during the renovation and after it was completed. Documenting everything helped me communicate with everyone involved during my renovation. If something didn’t look right, if something was unexpectly found or if I had a question I could just send the picture. Take advantage of technology where you can when renovating. It’s important to see the progress you are making.

MOVE OUT

If I learned anything from this renovation it was to trust my instincts. I wanted to move out because I knew what this was going to entail but I was talked out of it. It was mainly one side of my home and I was told it could be blocked off. I knew better and didn’t listen so I’m telling you MOVE OUT if you can make it happen. No one can describe to you the amount of dust, noise and disruption that occurs while you live in a renovation. It’s not healthy for mind, body or spirit. It’s draining and at times you ask yourself why did I do this I should have moved! I will say it again if you can move out while the work is being done DO IT you will never regret it!!!!

This post would have come to you sooner but not only did we deal with a renovation that was delayed we had two major hurricanes decide to visit in two years. One during our renovation and the other right when we finished. Living at the beach definately has its benefits so I have learned to live with the good and the bad.

Stay tuned next week for the after photos of my new closet and more of my renovation in the up coming weeks!

SaveSave

SaveSave

SaveSave

SaveSave

SaveSave

SaveSave

SaveSave

SaveSave

SaveSave

SaveSave

SaveSave

SaveSave

SaveSave

SaveSave

SaveSave

SaveSave

SaveSave

SaveSave

SaveSave

SaveSave

SaveSave

SaveSave

SaveSave

SaveSave

SaveSave

SaveSave

SaveSave

SaveSave

SaveSave

SaveSave

SaveSave

SaveSave

SaveSave

SaveSave

SaveSave

Welcome to the Neatly Designed blog, where I share my favorite organization tips, and must-have organizing products.

Subscribe!

Sign up to receive new posts directly in your Inbox!

Shop my faves

Shop all my organizing faves

Partnerships

My Home Tour

Christine’s Top 10 Organizing Solutions

or, shop by the latest Instagram

Is your closet not working for you?

When people see the before picture of this closet “they ask me so whats the dilemma”. It may look like an “okay” closet but it wasn’t functioning for her and she needed help figuring out why.

Before I start a project I like to talk to the client and find out what is not working in the space, what is working and what their expectations are at the end of the project.

The first thing I suggested was to purge clothing, jewelry, purses and shoes. Like most of us she was holding onto different sizes, “just in case”.

My goal for her was to keep only what she loves, wears and let the rest go. Always purge then organize!

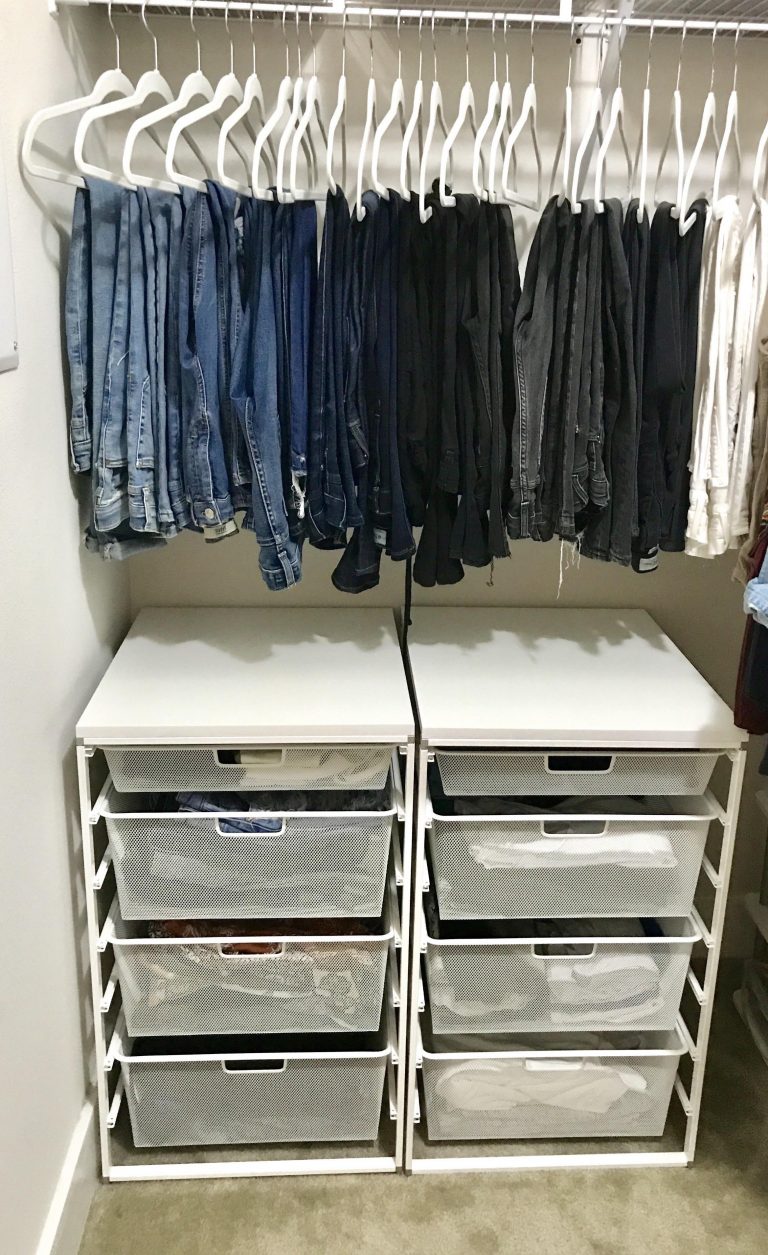
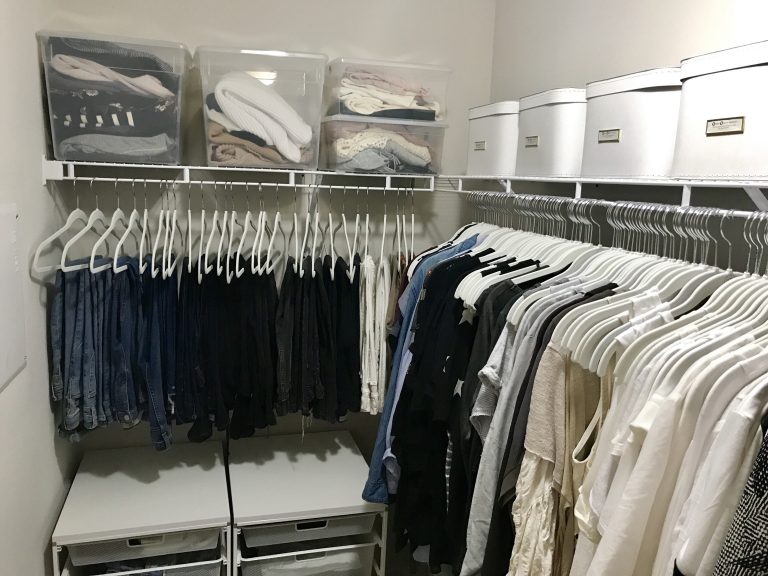
She had a section of hanging pants in the closet that worked in the closet but the space underneath was not being utilized properly. These elfa closet drawers were the perfect fit and she gained the needed drawer space she was looking for.

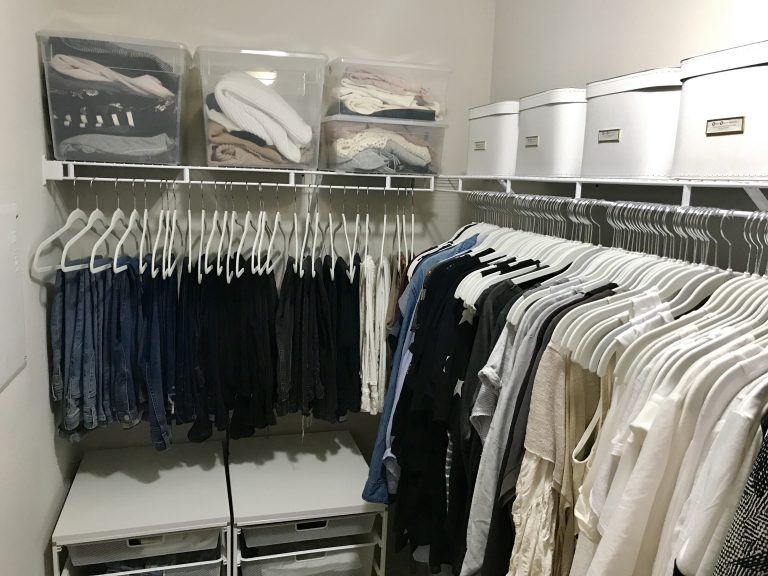
She needed storage for off season items and there was plenty of shelving above the hanging that was not being used. I suggested we use these boxes for all of her off season items. They fit perfectly and look great!

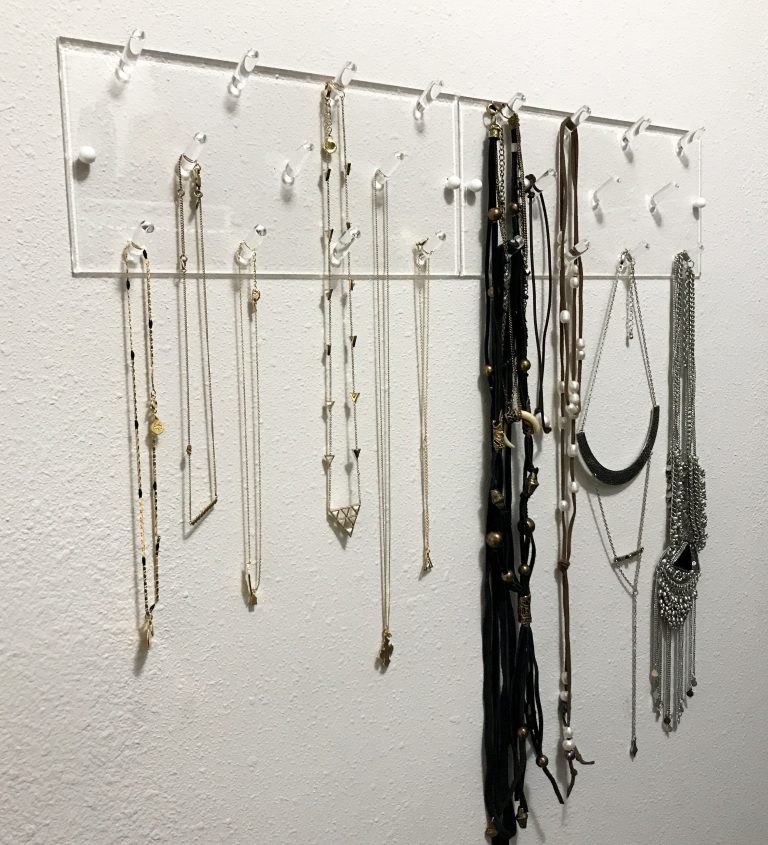
The space to the left was perfect for two acrylic necklace racks to hold jewelry because it didn’t protrude into the space and kept her necklaces tangle free.

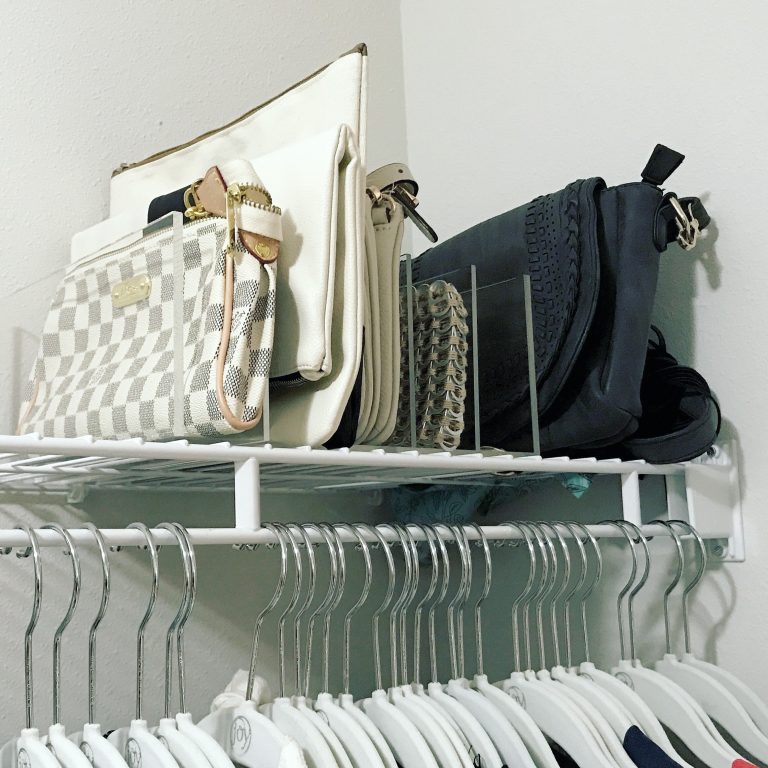
We needed a way to store her small clutches and this was the perfect choice for the shelf depth and gave her easy access.

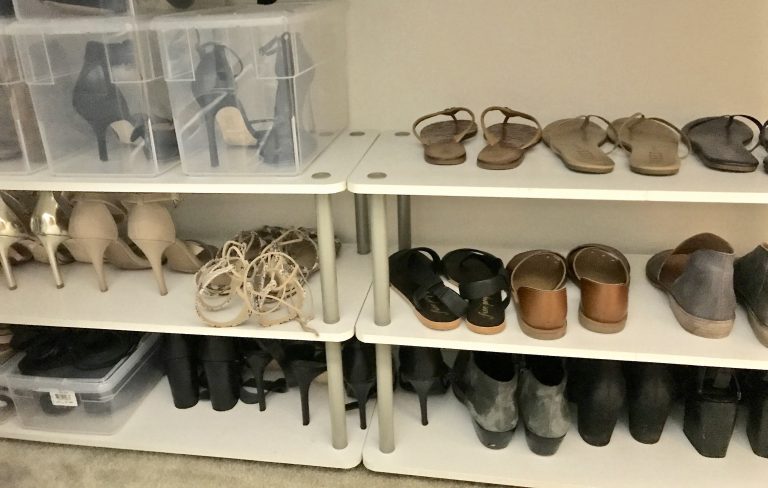
There was already one shoe shelf that worked for her needs but the other one was unstable and the shoes kept falling off. We picked up another one and it was perfect. Sometimes what you already own works!

When I put everything back into the closet I changed to the slimline hangers in white. It gave the closet the finishing touch with the white boxes.

The end result worked without any permanent changes so if she moves she can take it with her.

For more tips on this closet watch my latest segment on River City Live.