Clear The Clutter And Enjoy Your New Space

On of my latest discoveries through Instagram and YouTube is makeup and fashion guru Lisa Duncan. Her YouTube channel is on my weekly must watch list.

Her reviews on hair, makeup and fashion are not only honest but her southern accent makes you feel like you are sitting at her house drinking a glass of sweet tea.

This video is about the transformation of her FROG room(finished room above the garage). Her step by step description of what it took to transform the room was so perfect I had to share!

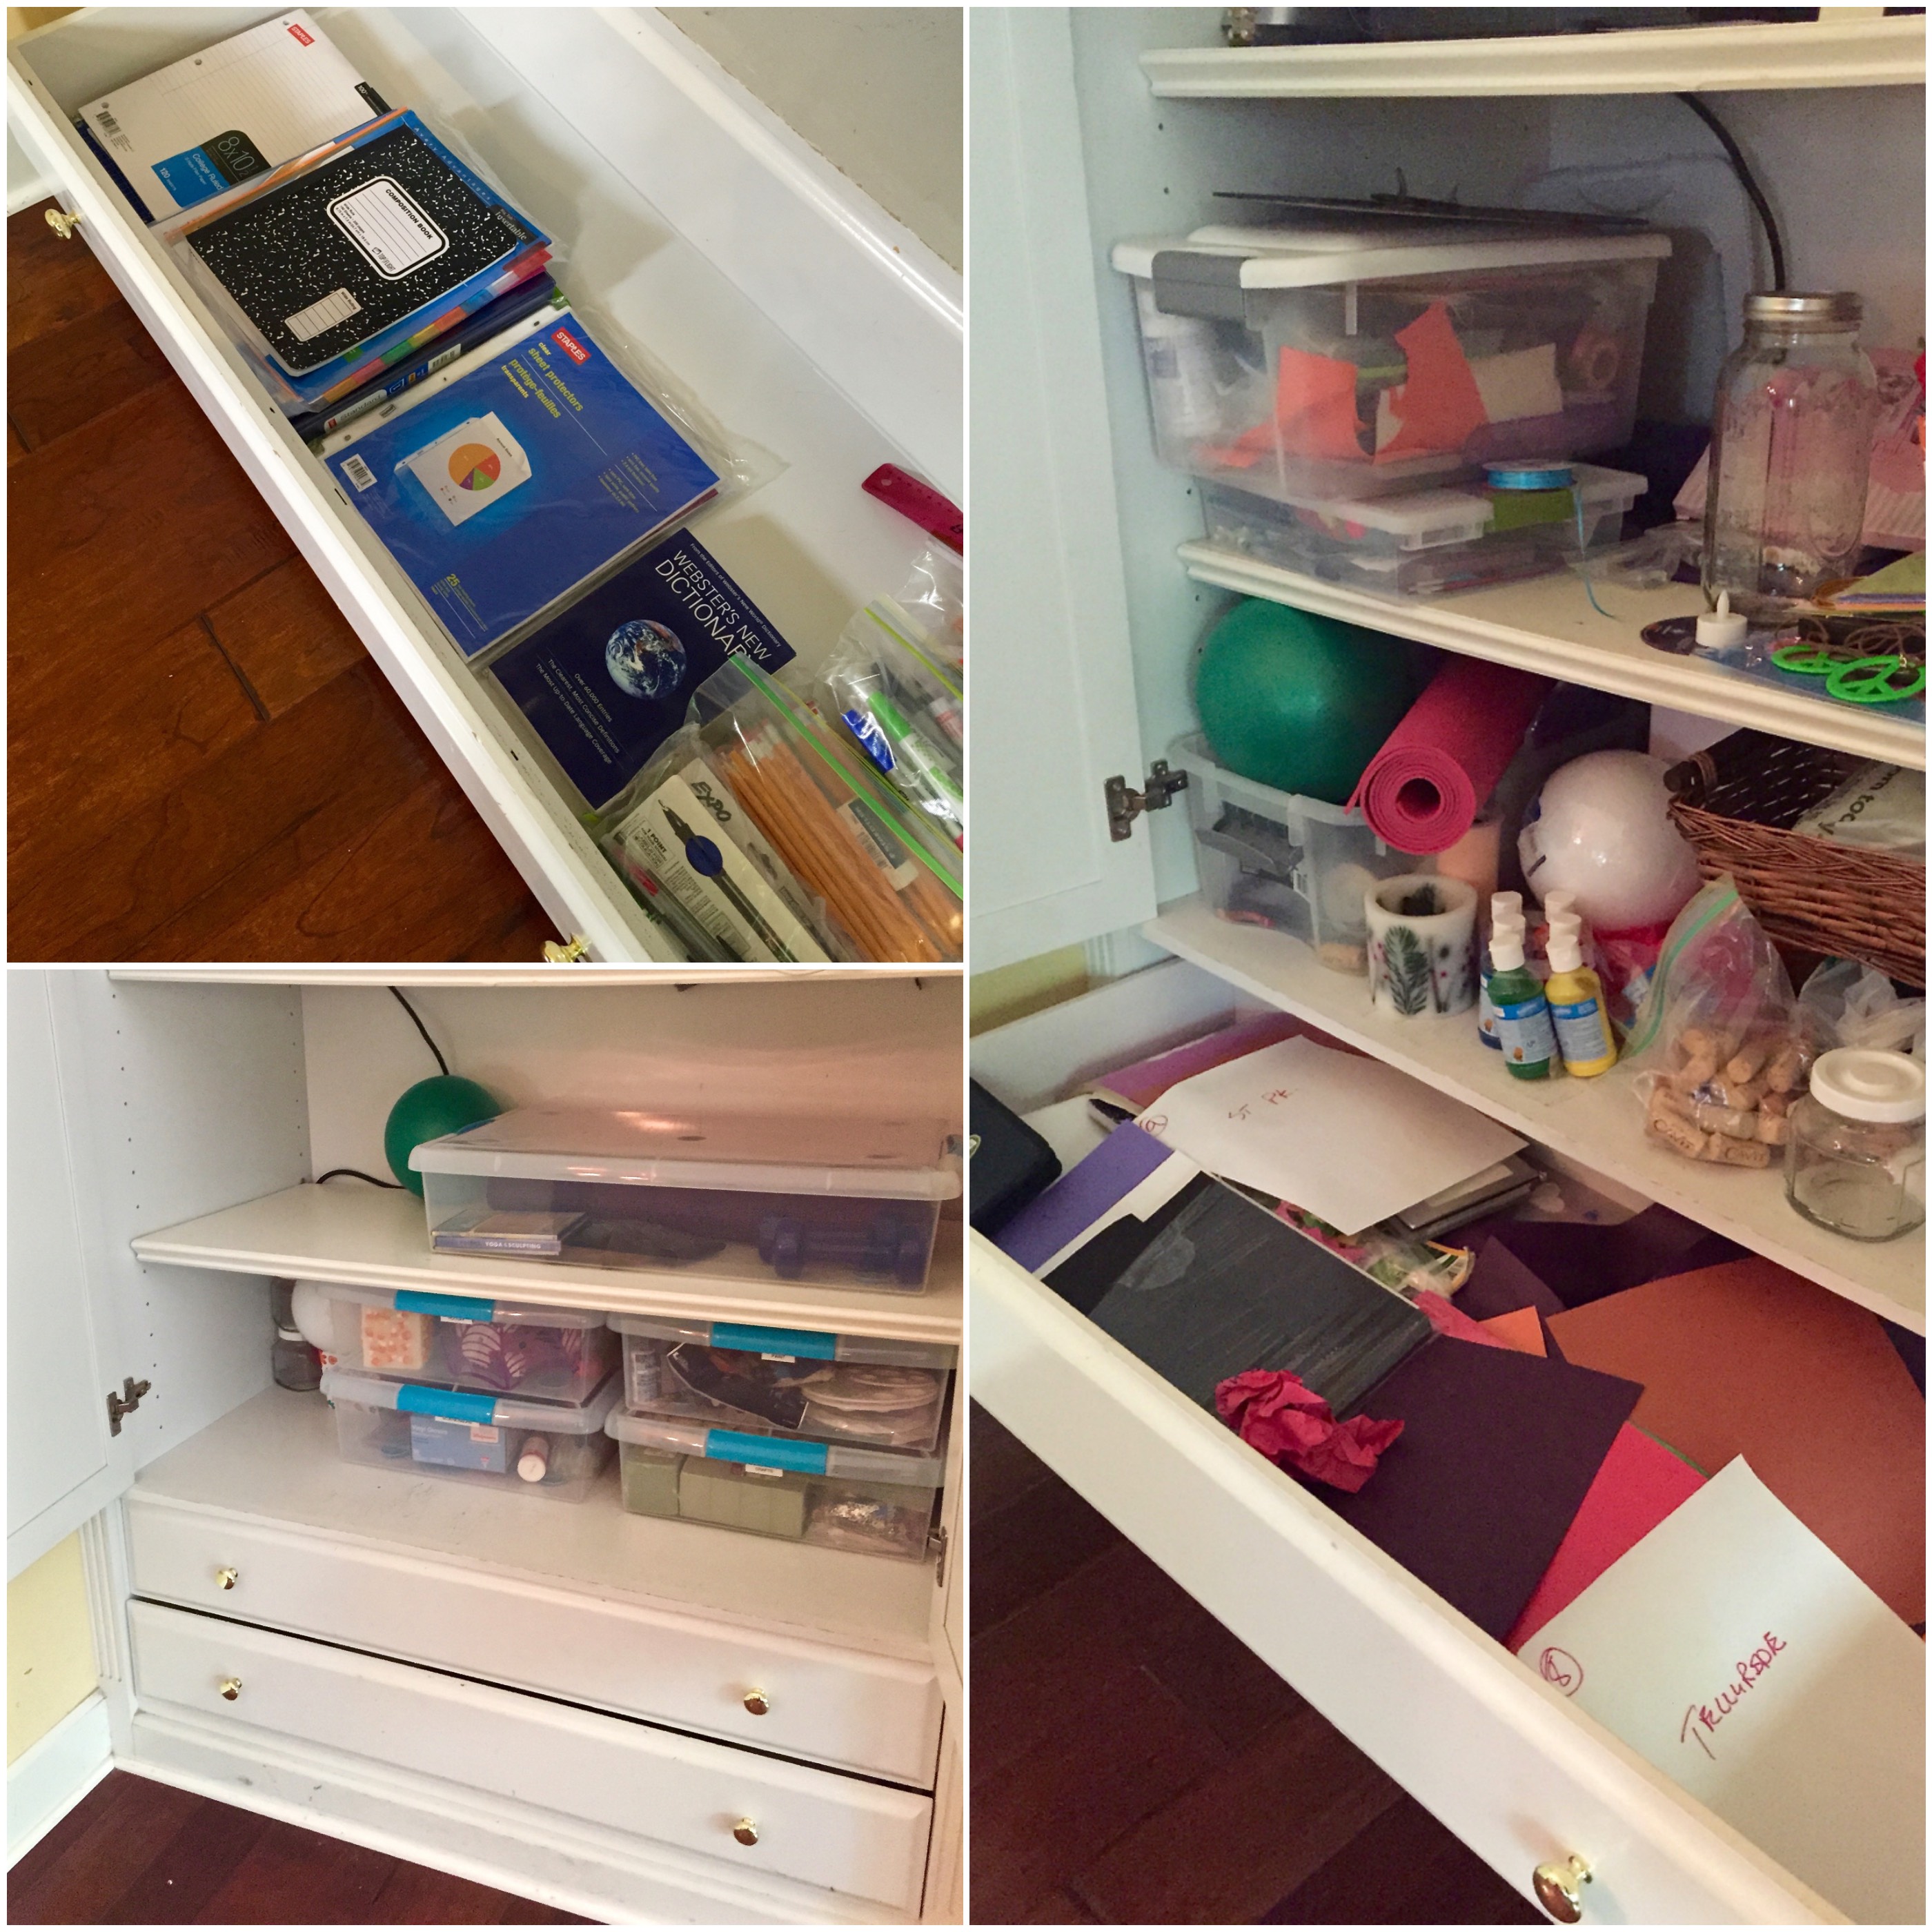
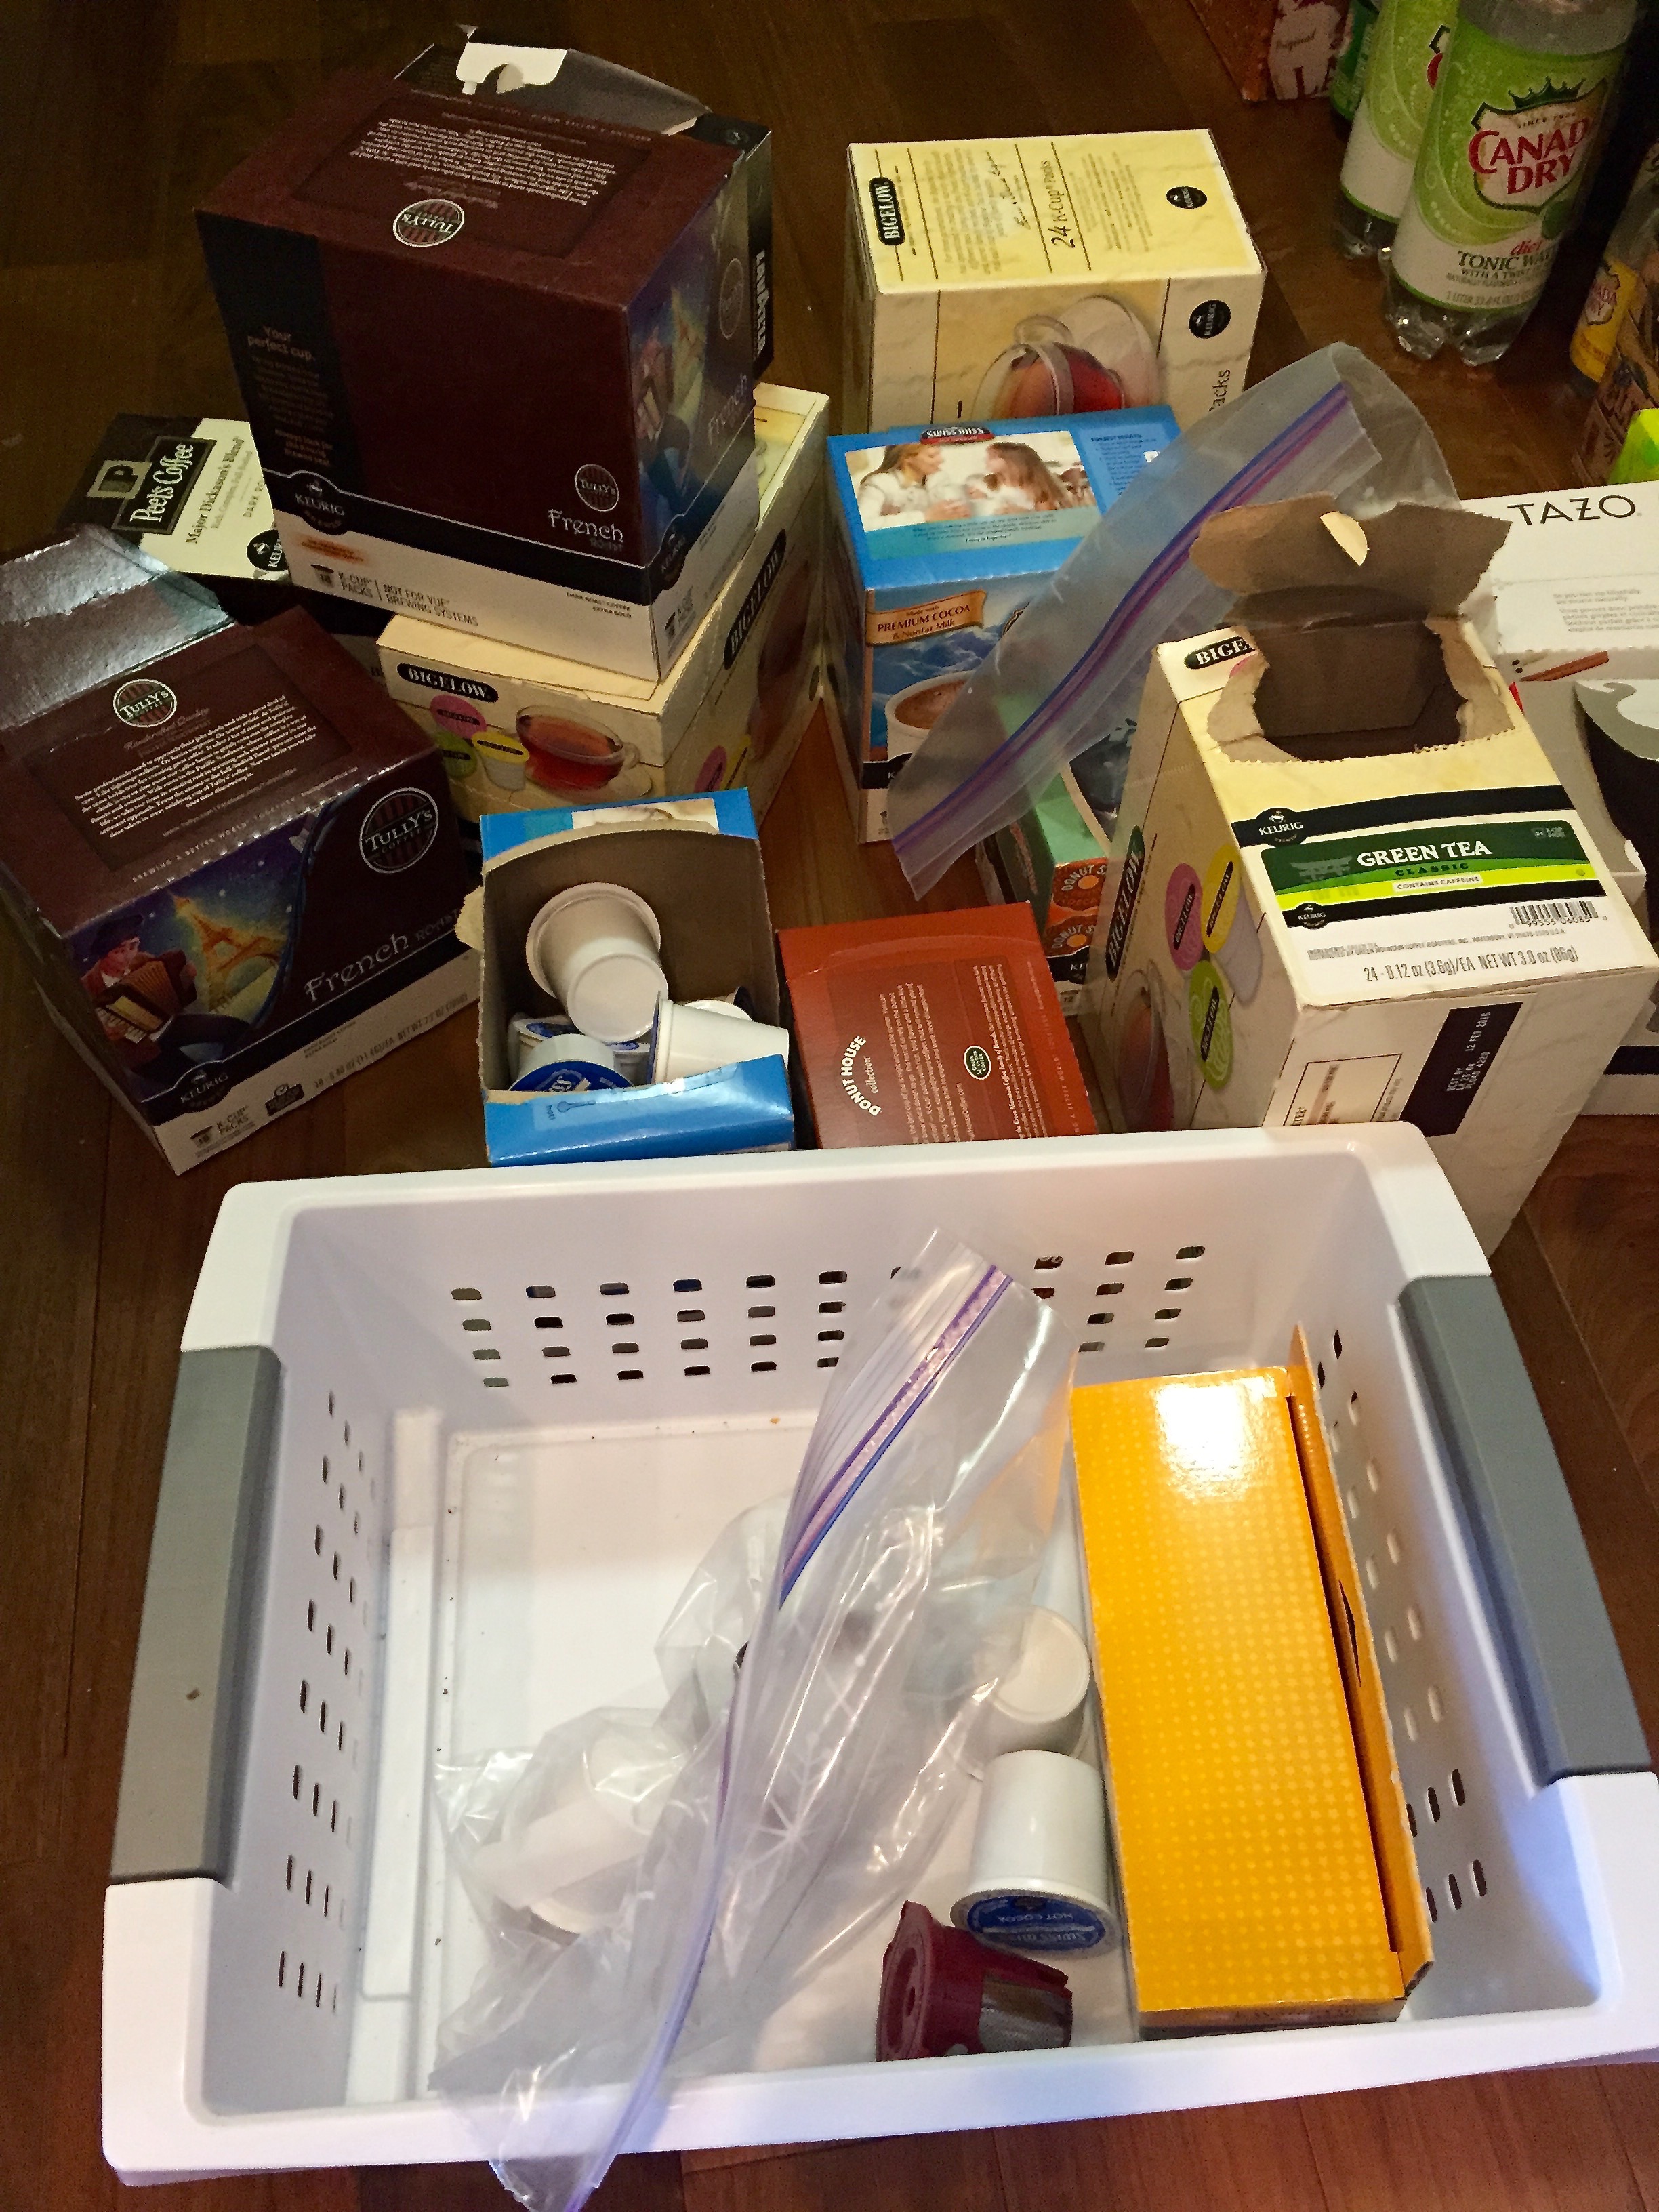
The room use to be her kids playroom and a sewing room but as they grew it had become a catchall for everyones unused junk.

It had been bothering her for awhile but everytime she went up there she dreaded the thought of having to tackle it and knew it would be a tough job. Most people share this feeling when they have just one room in their house that makes them crazy!

In her video you will hear her explain step by step the process she went through in one week to gain a brand new space to call her own.

Step 1 Call 1-800-GOTJUNK. She said it was the easiest transaction and well worth the money. She called on a Sunday and they came on a Monday.

They took all her unwanted items including old exercise equipment and moved what she was keeping but did not belong in the FROG room downstairs. Anything you do not have to move yourself is an added bonus!

Step 2 Replaced the carpet with a remnant piece from a local carpet store. Remnants save you money!

Step 3 Called her local Sherwin Williams store to get the name of a painter to paint the room. A fresh coat of paint is the easiest way to transform a room.

Step 4 Numerous trips to Goodwill and the Thrift Store. 

Now that the room is empty, new carpet and new paint she sits in the empty space and admits to being thoroughly exhausted. I hear that from many of my clients when we complete a project.

It takes mental and physical energy to clear the clutter. You have to have a goal in mind and see it though to the end.

Lisa shows in this video the effort and motivation it takes to transform a space in one week.

It is never easy while you are going through it but the end result is worth all of the effort!

This Weeks Before & After…Pantry

With a new school season ready to begin I thought it would be the perfect time to post a before and after of my client’s pantry.

IMG_1953

IMG_1961

The elements of an organized space were already there before we began. A built in pantry in the kitchen, plenty of shelving and more than enough containers.

So you are probably wondering what went wrong? My answer is LIFE.

She has three young children and even the most organized person needs a little bit of help every now and then.

To start the process:

We removed everything and yes I mean everything. It is really the most important step to an organized space.

IMG_1965Purged each container checking for expiration dates, and only put back what she needed.

IMG_1974Labeled each container before putting it back on the shelf so she would know what was in each one. Out of sight is truly out of mind when it comes to pantries.

IMG_1982Categorized items on the shelves and put the snacks on the bottom so the kids had easy access for an after school snack.

IMG_1977

IMG_1988Getting your kitchen and pantry organized is the perfect back to school project for parents. It will make meal time easier and prevent overbuying which saves you money. 

Enjoy the start of a new school year!

Welcome to the Neatly Designed blog, where I share my favorite organization tips, and must-have organizing products.

Subscribe!

Sign up to receive new posts directly in your Inbox!

Shop my faves

Shop all my organizing faves

Partnerships

My Home Tour

Christine’s Top 10 Organizing Solutions

or, shop by the latest Instagram

Clear The Clutter Video Series…Part 4


In Part 4 of our Clear The Clutter Series we show you how to organize the items Laura decided to keep and of course everyones favorite part…The Big Reveal!!

First a reminder of what her cabinet looked like BEFORE.

IMG_2046

IMG_2058The containers we used are from The Container Store. Theses were a perfect fit in the cabinet and have wheels so they glide for easy access.

IMG_2057Laura does a lot of crafts for her website Simple Solutions Diva so it was important to keep all of her supplies sorted and categorized so she could find exactly what she needed for her projects.

IMG_2067The next and most important step…LABEL, LABEL, LABEL. If you do not know what you have in your containers it will quickly become a frustrating mess.

IMG_2063This drawer was one of my favorite parts of this project. When we finished getting rid of things she no longer needed we had an entire drawer available.

I suggested we use it for her daughter’s school supplies. We gathered them from a couple of areas around the house and went through what she wanted to keep and then organized them in the drawer.

Now her daughter can pull from the drawer through out the school year. Laura will know when she needs to repurchase an item instead of buying more of what she already has. Being organized saves money!

IMG_2054This is the BEFORE basket of school supplies.  You can see why this was my favorite part of the project!

IMG_2068 (1)_Fotor_CollageClearing the clutter in any area can be difficult if you look at it as throwing your stuff away but if you look at what you will gain from your new uncluttered, organized space, as my clients always tell me it is life changing.

Thank you so much to Laura for allowing me to show you step by step the clearing the clutter process. Most people are too embarrassed to show me let alone do a video series.

She showed in this series exactly what everyone feels throughout this process. The emotions that are attached to things, the stress and anxiety while going through it and the sheer delight when you see the finished product.

Stay tuned for more Clear The Clutter videos with Laura Morey from Simple Solutions Diva.

I hope we inspired and motivated you to clear the clutter in your home.