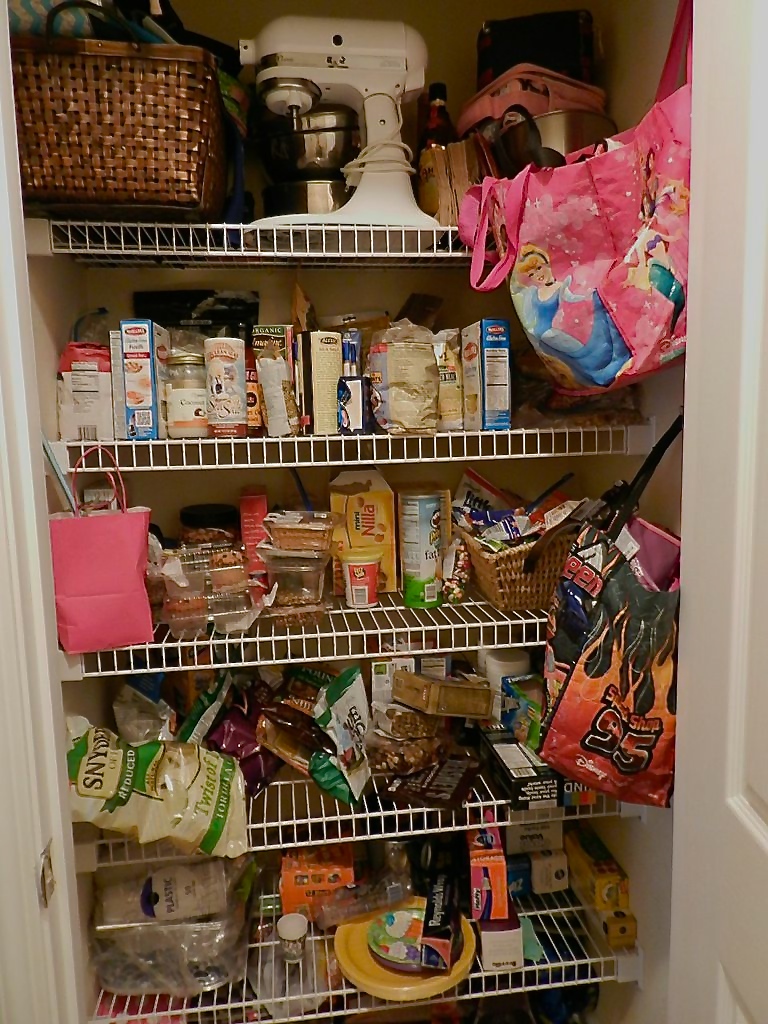
One of the easiest places to start to get organized is the pantry. This client’s project took very little time with very big results.
The first step to any organizing process is to purge. Remove expired food and any item that you intended to use but never did. I won’t give examples on this because we all have those items.
Do not buy anything until the purging process is over and you see what you have left. Measure the shelving and only purchase what you need.
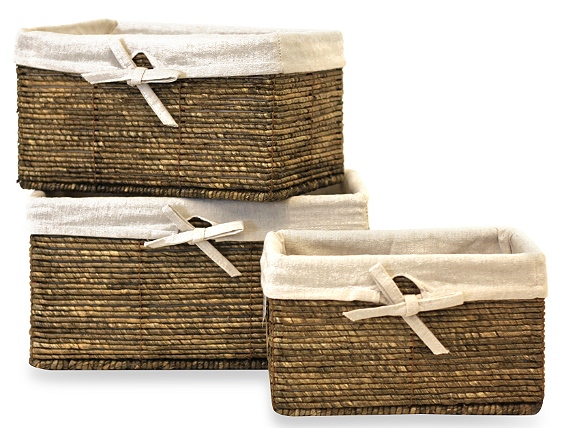
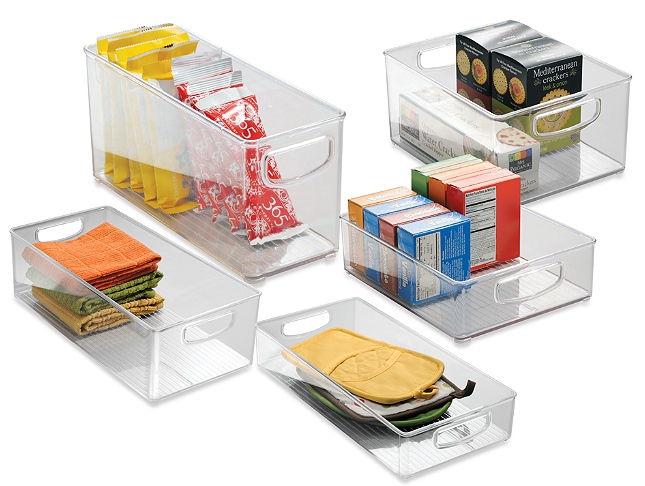
Group like things together. Clear containers allow for easy access to food items. Group kids snacks, baking supplies, pastas and all the ingredients for your morning protein shake. It not only looks organized but will make your life easier and more efficient. When you can see what you have you will not over buy which will save you money. Baskets work best on lower shelves for paper products and larger items.
I hope today’s before and after inspires you to tackle an organizing project in your home.
